
This post may contain affiliate links, which means I'll earn a small commission if you purchase something through these links. You won't pay any extra; instead, you'll be helping Aloha With Love to thrive. Thank you! Learn more.
--
Now that I’ve been growing my own vegetables and raising tilapia and catfish, I’ve been really interested in cooking food in a solar cooker. Most of the commercial solar cookers out there cost some big bucks, so I opted for building my own affordable setup to see if I like the experience of solar cooking. The verdict? I really like solar cooking!
There’s something fun and fresh about it. I have to discover for myself what works and what doesn’t and there are very few recipes to follow. Unlike a stove, not every solar cooking is going to reach the same temperature, so I’m forced to get a feel for cooking with this way. Everything depends on the weather and while Hawaii has many sunny days, our weather can change quickly.
Here’s how I built my very basic setup and what I recommend to cook (and not to cook).
The basic necessities
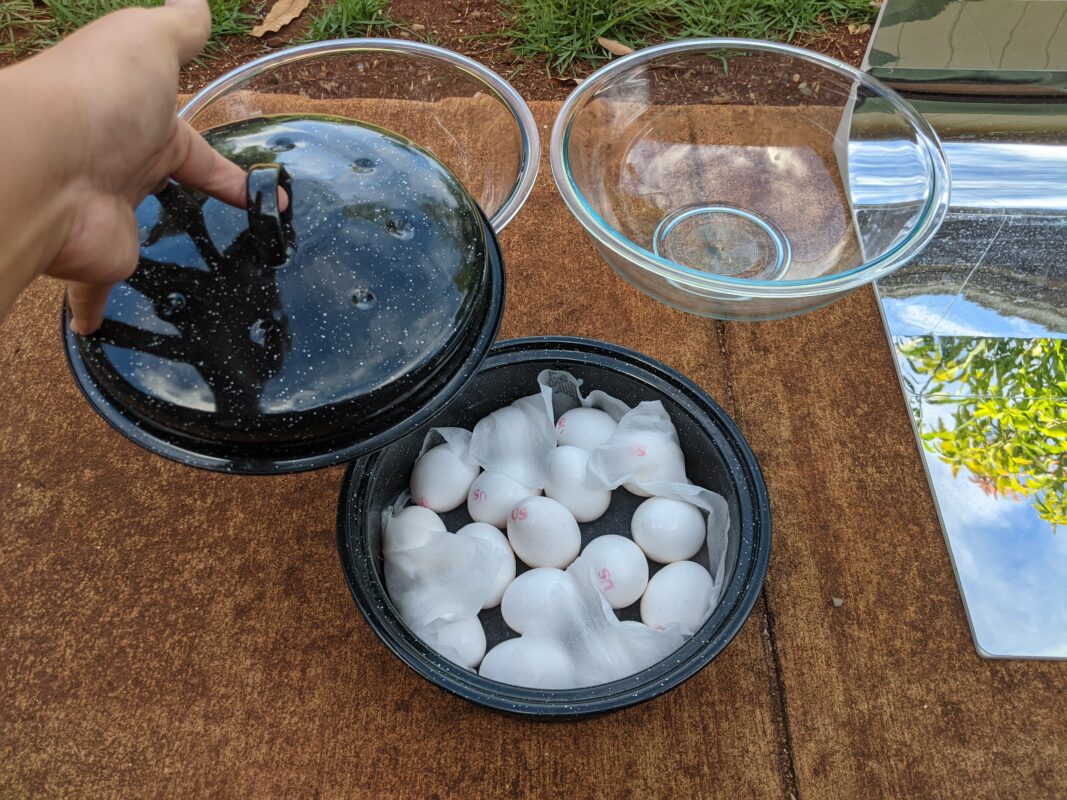
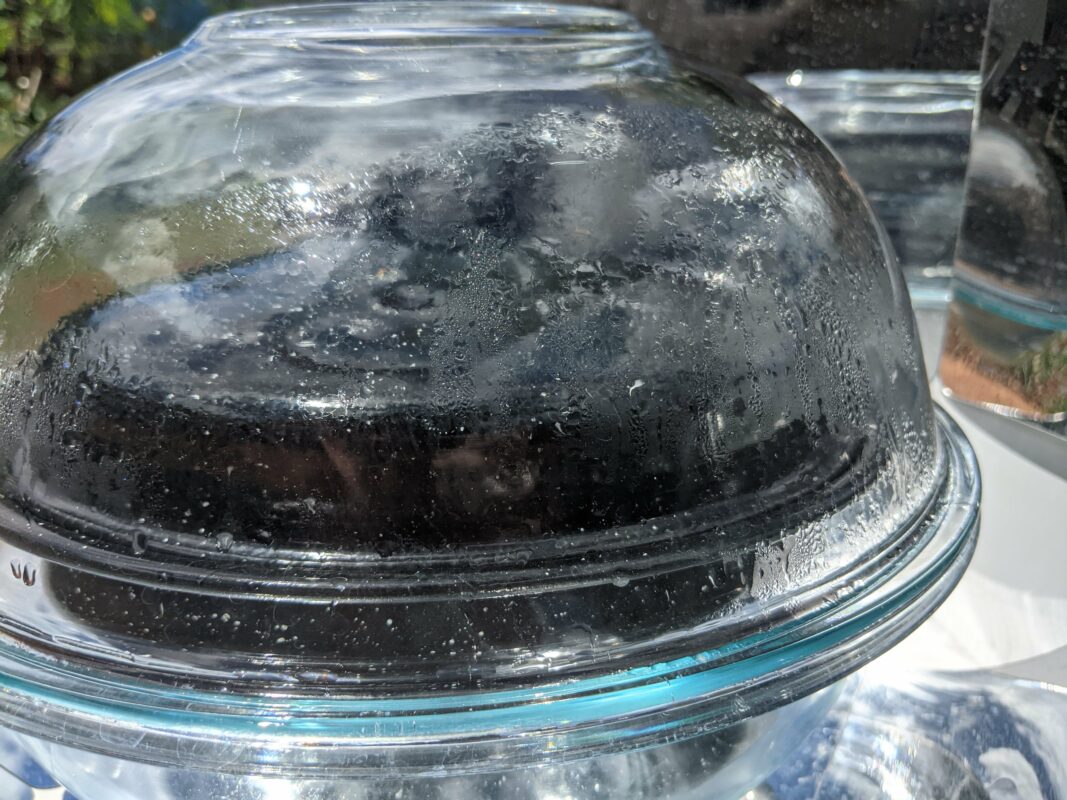
Black pot: Granite Ware’s 9.75-inch black round roaster pan is what you see in many DIY solar cooker builds. The pan is light and thin, which means it heats up quickly. This also fits perfectly in two 4-quart Pyrex glass bowls (see below).
Some solar cooker builds use a cast iron pot or a dutch oven, but I don’t think this will really work for Hawaii since we don’t get blazingly hot weather like in Arizona or deserts on the mainland. The thicker pots just take too long to heat up and the food wouldn’t really start cooking until well after 2-3 hours. This might work for places like Kona on the Big Island, but for most neighborhoods in Hawaii I think you’ll be better off with a thin black pot.
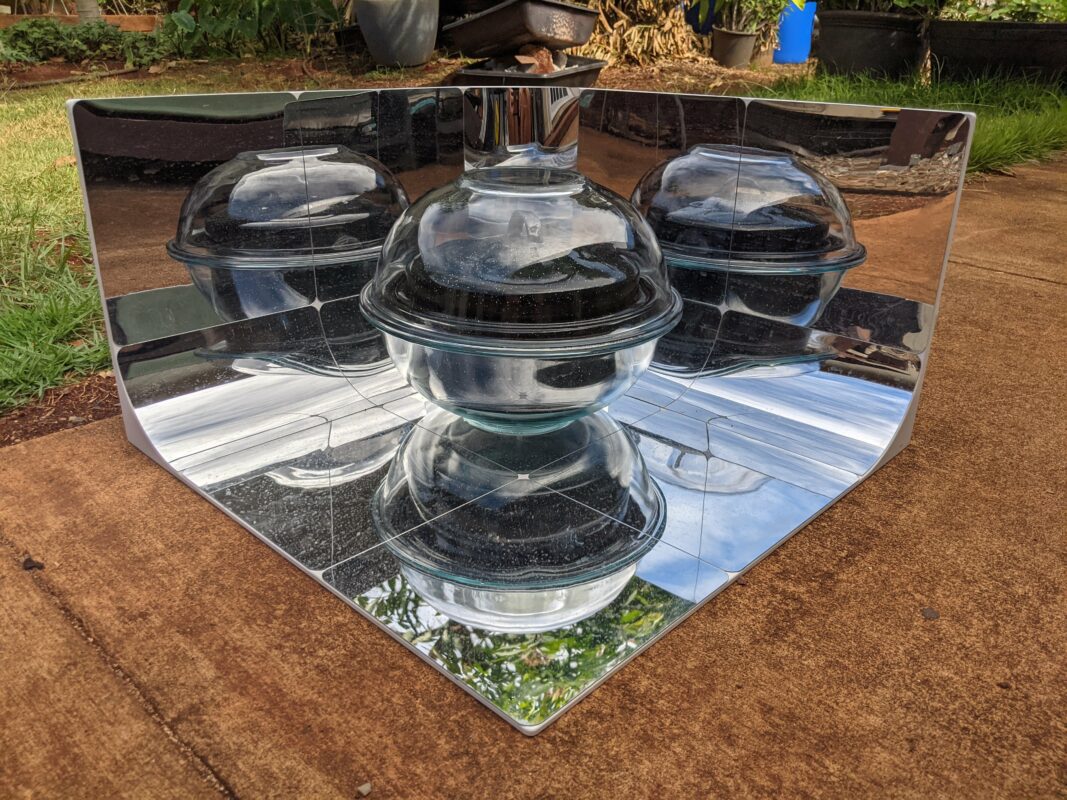
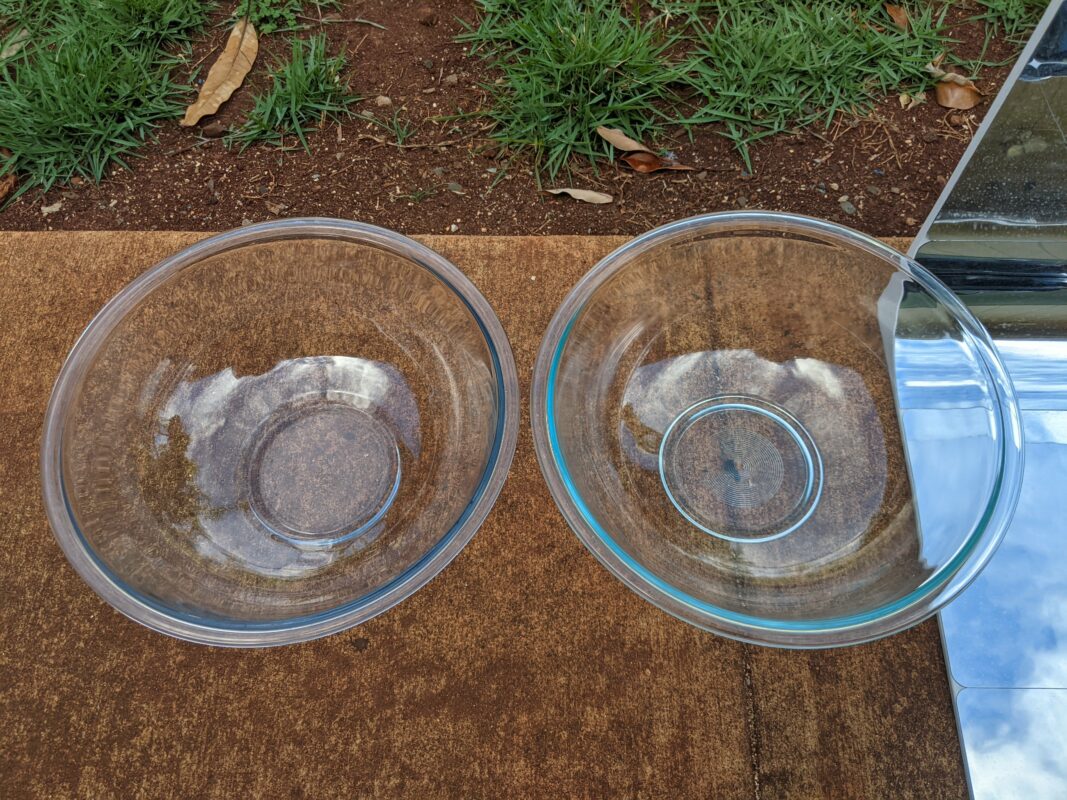
Glass insulation: We already had one 4-quart Pyrex bowl in the house so I bought another on Amazon and they sit on top of each other creating a round, clear ball around the black pot. As long as you’re on flat ground, they shouldn’t slip and fall and even when I readjust the setup towards the sun, the glass bowls stay balanced on top of each other without a problem. I’ve seen the occasional drops of water drip outside of the glass bowls, but nothing major to stop your food from cooking.
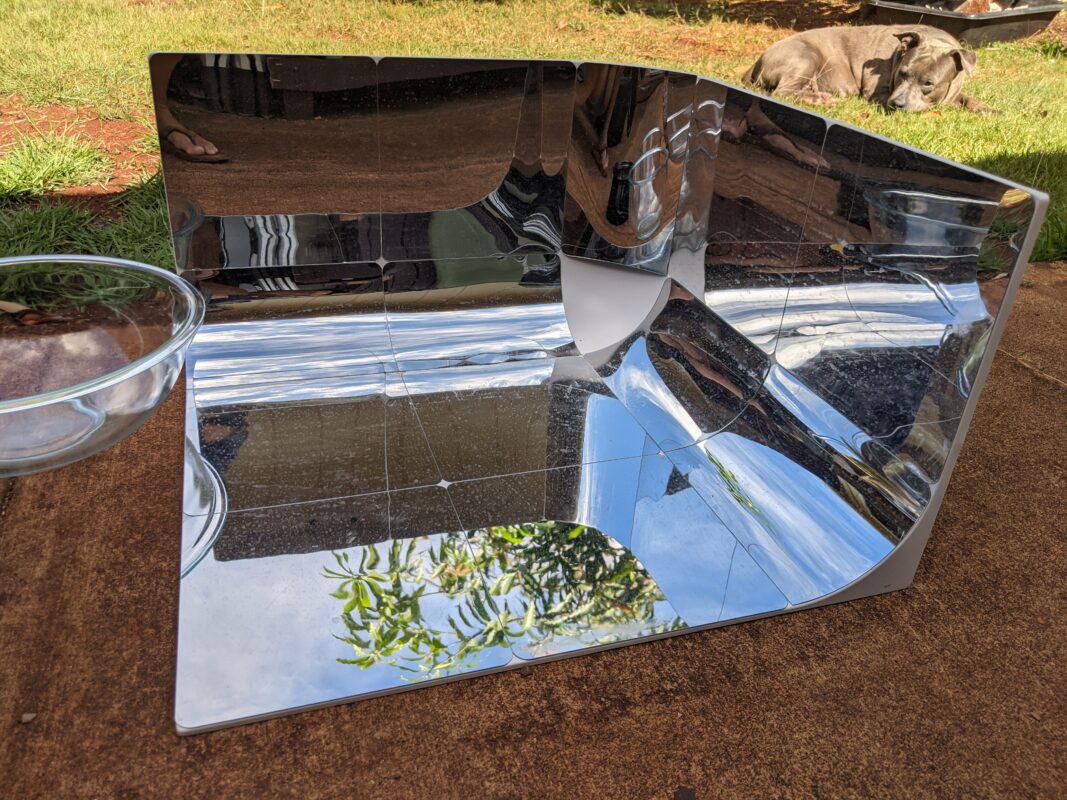
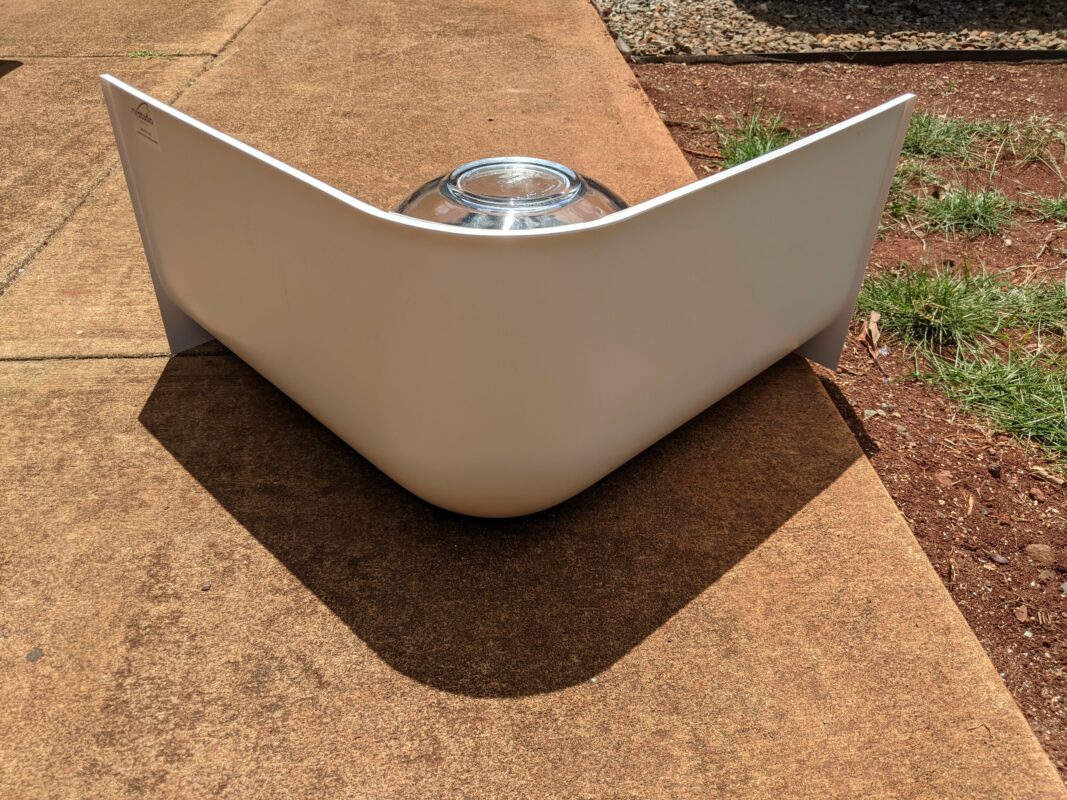
Mirrors: There are a bunch of methods for creating a reflective environment, but I went with what I had. I happened to already have a product photography studio kit left over from my e-commerce days that’s been taking up space in my room. The backdrop was shaped into a smooth corner, so I purchased flexible acrylic mirrors and stuck them along the plastic. I skipped the corner because it was difficult to shape a curved triangle out the of acrylic mirrors.
Most people won’t happen to have a product photography backdrop lying around in their house, so you can use a mirror or mylar on some cardboard or plywood. I personally haven’t tried this with aluminum foil, but my guess is that it would reflect less onto the pot. When I put my basic setup in the sun, I can feel the heat from the mirrors bouncing onto my face when I readjust toward the sun.
Weather and timing
After several tries, I’ve figured out that I can have a successful slow cooker on sunny days with light clouds. When I say light, I mean white, wispy clouds. Darker clouds that are gray and look “heavy” will completely block the sun from the solar cooker and it won’t get any hotter than warm-to-the-touch.
The trick is to look at the shadows. If the shadow lines are sharp and defined, solar cooking is going to be great as long as the weather holds up. But if the shadow lines are blurry, you might want to rethink your menu for the day.
It is possible to cook on a semi-cloudy day, but I’d suggest something that cooks fast or only needs to be warmed up such as vegetables, tofu, or leftovers. Depending on how finicky the weather is, you might be left with uncooked or lukewarm food if the black pot doesn’t get hot enough to slow cook for several hours.
I’ve found that 12 PM – 2 PM are the hottest hours. That means by the time 12 PM hits, your pot needs to be nice and hot and already slow cooking. After 2 PM the temperature will begin to lower slowly. The cooking should mostly be done, but I usually keep the solar cooker going just to keep the food hot until dinner time.
What to cook with this basic solar cooker setup?
Soups and stews do great with this basic solar cooker setup on a sunny day if you have everything out by 10 AM. Meats cook thoroughly and aren’t tough or overcooked, and the dish is so hot you’ll see a puff of steam when you open the black pot. I wouldn’t recommend baking though. Especially with breads that need to rise, you need to hit that precise temperature and cook the dough quickly, otherwise breads will just deflate and become hard and chewy.
Read more: Solar Cooker: “Hard-Boiled” Eggs Without Water
However, I think you could pull off something like a chicken pot pie or lasagna in this setup. Even fruit pies might work, but that’s something I’m not too familiar with. For recipes that require 300 degrees and up, I recommend upgrading to a solar oven, which is on my DIY list of things to do! Breads and cookies, you’re up next!
Aloha with love,
Amy