
This post may contain affiliate links, which means I'll earn a small commission if you purchase something through these links. You won't pay any extra; instead, you'll be helping Aloha With Love to thrive. Thank you! Learn more.
--
The Kaena Point hike is an easy, flat, sometimes muddy, usually hot, but rewarding hike. Not only does it have fantastic views every step of the way, but you also have a chance to see humpback whales off in the distance, monk seals basking in the sun and the cutest chicks in Hawaii!
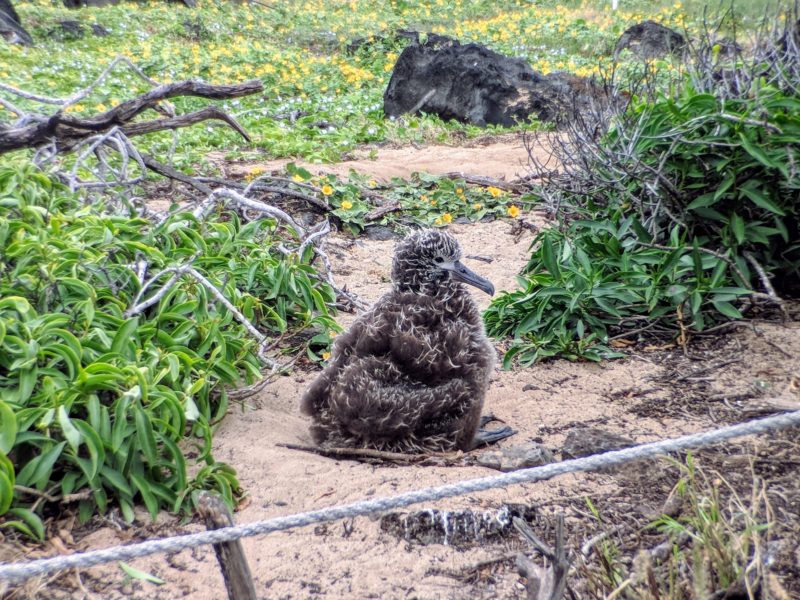
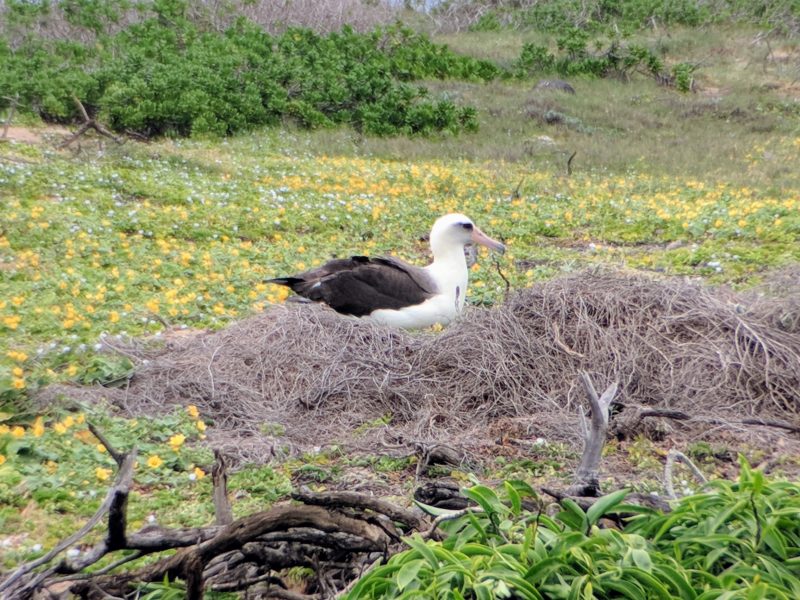
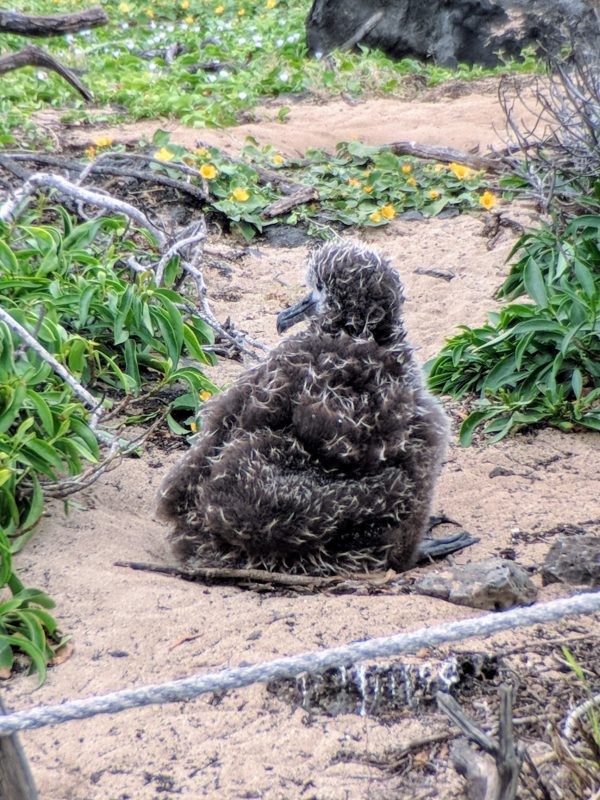
One of the highlights of the Kaena Point hike are the Laysan Albatrosses – huge birds that have made Kaena Point home. Mating for life and laying only 1 egg a year, they are a unique species that are sure to twist your heartstrings. And if you’re lucky enough to spot a chick outside of its nest, you’re in luck! They’re usually burrowed below in an underground nest and can be hard to make out in such a dark tunnel.
On this particular hike, I was lucky enough to spot a big one close to the walkway. Both the parent and the chick didn’t really seem to mind, but I still gave it some space. What a neat experience to spend the day with these hot chicks!
Aloha with love,
Amy
Local Tip: This post will guide you to Kaena Point from the Makaha access point. I also have a post about the trail from the Mokuleia access point.
Kaena Point Hike – What You Need To Know
There are actually 2 different Kaena Point hike access points. Access point #1 is in the Makaha/Waianae area and is a 2.4 mile hike to Kaena Point. Access point #2 is in the Mokuleia area and is a 2.5 mile hike to Kaena Point. In general, most hikers will begin and end their hike at the same access point since it is inconvenient to drive over to the other access point (roughly 1.5 to 2 hours depending on traffic).
If your accommodation is in the Ko Olina resort area (Four Seasons, Disney Aulani, Beach Villas, Marriott’s), Access Point #1 will be the closest and most convenient trailhead for you. Those in the Waikiki and Kailua area can choose their preferred entrance, but I would still recommend Access Point #1 since you may not visit this area again in the same trip. If you are staying in the Haleiwa or North Shore area, then Access Point #2 in Mokuleia will be the best option.
Ko Olina Lagoons: Fantastic Ko Olina Guide By Fellow Local Girl Sarah From Borders And Bucket Lists
Access Point #1 (Makaha)
On this particular hike I started and returned to Access Point #1, which is in Makaha (the west side of Oahu).
The Kaena Point hike trailhead is easy to find. Continue north on Farrington Highway as far as you can until the asphalt stops. You’ll end up in a parking lot and from here you’ll see the dirt road that marks the beginning of the Makaha entrance for the Kaena Point hike. Don’t leave any valuables in the car as theft is a problem in this area.
One reason why I like the Makaha entrance is because there’s a public restroom about 5 minutes before the trailhead. The facility is well taken care of and you can’t miss it since there are no other buildings around. The bathroom has a large dedicated parking lot so it’s a great place to stop for a bathroom break and view the coast and Waianae mountain range.
Pros: Waianae mountain range will block you from the early morning sun, fantastic view as you walk back.
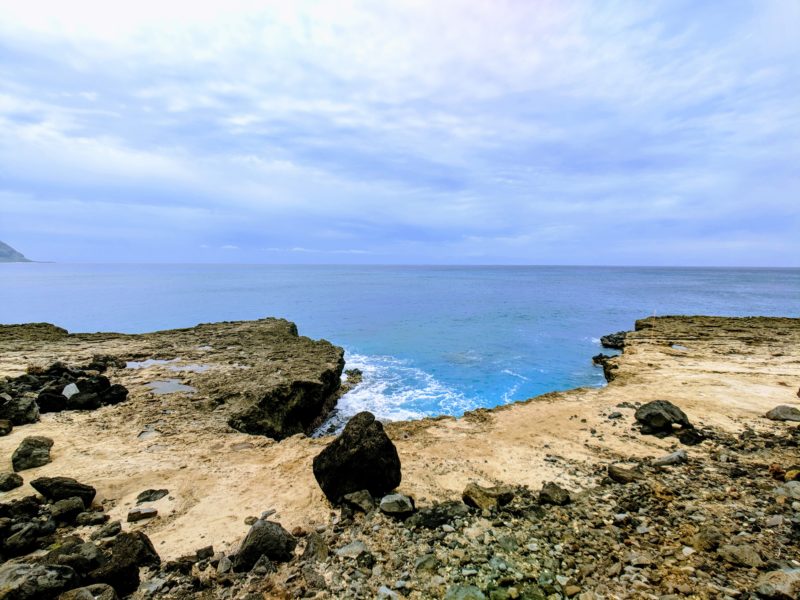
Cons: Difficult and often dangerous to reach the ocean from the trail – you’ll have to go down a steep cliffside and the waves naturally hit this coast harder than the Mokuleia side.
Access Point #2 (Mokuleia)
The Mokuleia entrance is also reached by the Farrington Highway, but this time you’ll be traveling west from the North Shore area. The last bathrooms available to you will be at the Mokuleia beach park and at the Dillingham Airfield. Again, keep driving until you run out of asphalt and turn right into a makeshift dirt-road parking lot. There will also be a large gate here blocking the entrance, but you can drive past this if you have a car permit for Kaena Point.
For those interested in obtaining vehicle access (you can drive all the way to the sanctuary), visit the DLNR Kaena Point site. They have several links to help you get started on your permit application as well as hike conditions due to weather or severe ponding.
Pros: Easier beach access, higher chance of spotting monk seals in my experience, but I’ve seen seals on both hikes.
Cons: Often suffers from severe ponding due to illegal recreational 4-wheel drivers, feels hotter since the sun hits you as soon as it rises.
When To Hike
- The Kaena Point Hike gets HOT. There are no trees or mountains to block the rising sun. Plan to return to your car before 10:00 AM so that you’re hiking in the cool, morning air.
- Avoid hiking after rain. Both sides can have severe ponding due to 4-wheel driving enthusiasts. After heavy rains, avoid for a few days to allow the hike to dry up.
- If it’s predicted to be cloudy all day in this area, then it might be a perfect time to hike even in the afternoon. The clouds block the sun all day and it’s naturally windy here so you won’t have to worry about humidity.
- Breeding season ends in July and I enjoy hiking here around March. The chicks are quite large by then and are easier to see (and take photos of).
Other Things To Do On The Waianae Coast
Most people don’t know that the Waianae Coast is a fantastic place to see dolphins! They particularly like to hang out near Kahe Powerplant (Electric Beach). There are also a few turtle cleaning stations and the snorkeling on this side of the island is pretty much awesome. Not to mention the whale watching, too! Most Oahu visitors will go whale watching on a cruise in Waikiki, but Waianae boasts that good, old country feeling, the Waianae mountain range and a gorgeous view. Click here to see a list of Waianae Coast activities.
My Kaena Point Hike Experience – Access Point #1
I usually begin my Kaena Point hikes at 6:00 AM, but on this day the forecast was cloudy all day with some rains visiting the island at 3:00 PM. So I slept in and we started the hike at 11:00 AM, which should have killed me with the heat, but it was cool and windy the whole way. I did still put on my sunscreen, which I’m glad I did since I felt a slight burn on my face near the end of the day.


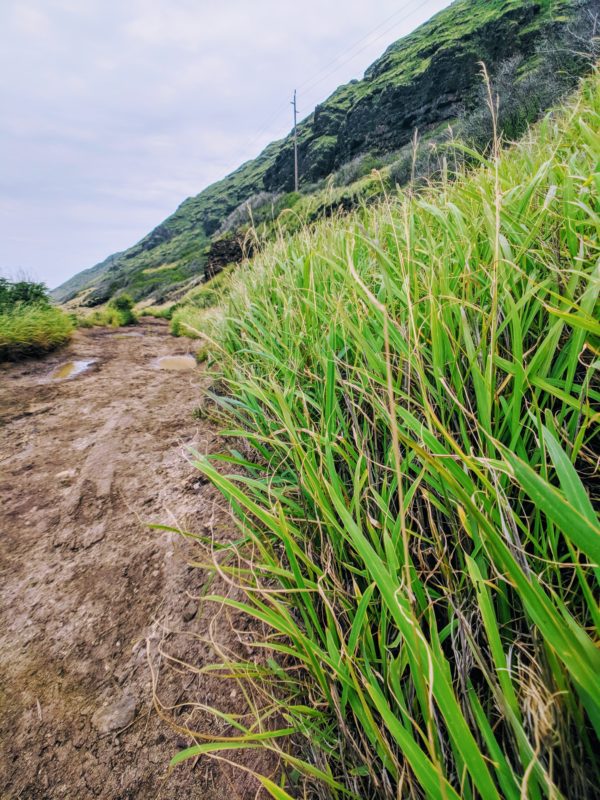
We’ve been having some very big and heavy rains for the past few weeks so I had waited for a few sunny days to pass before I attempted this hike. At first glance I considered turning around because the ground looked moist and there were several ponds all over the place. However, everything that looked muddy was actually already dry and solid. The ponds were also easy to avoid as they were often in the middle of the road. Returning hikers also weren’t covered in mud so I continued to move forward.
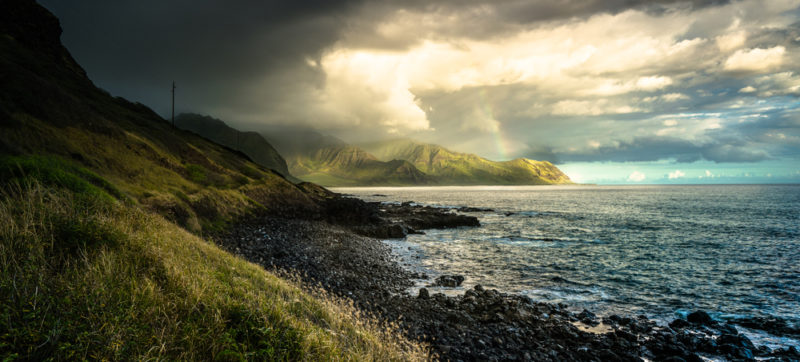
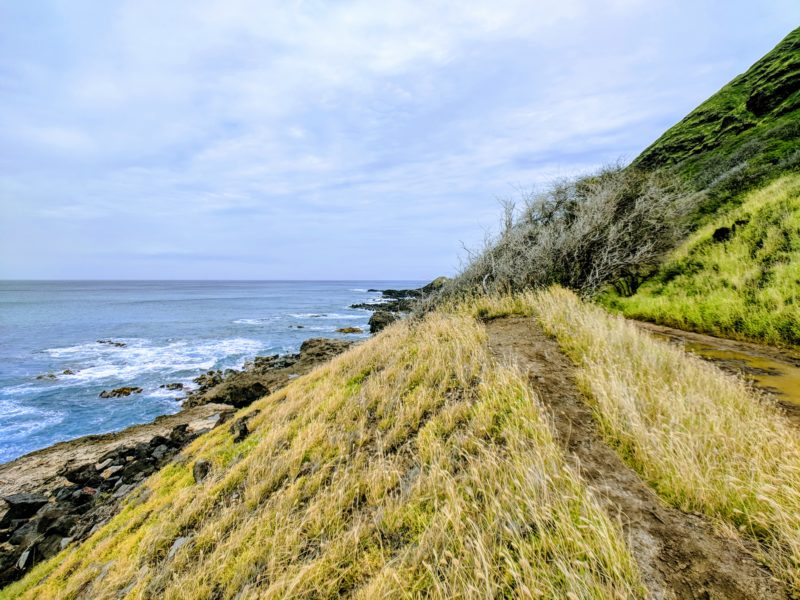
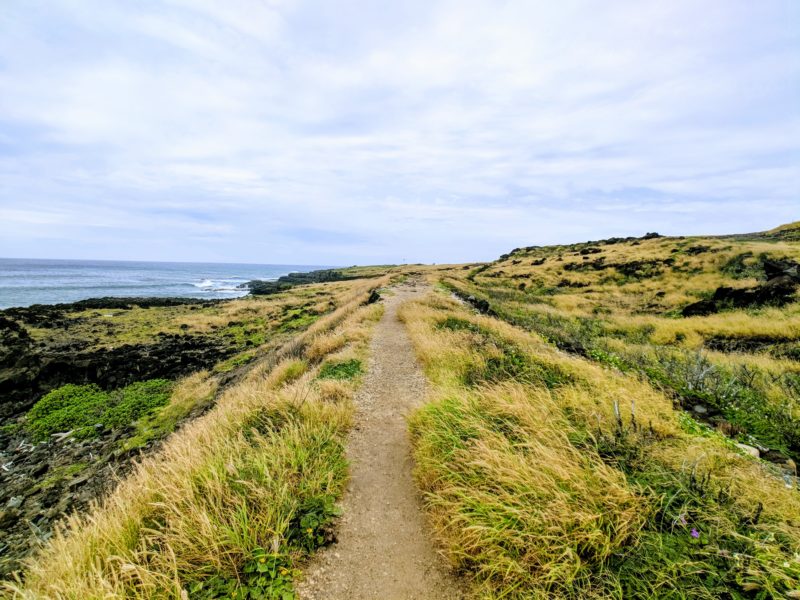
One reason why I like the Kaena Point hike so much is because of its rewarding views. You’ll see the gorgeous ocean, beautiful beaches, and plenty of nooks and crannies to discover. Photographers can rejoice as you’ll be tempted to take a photo every few steps – it’s that beautiful. The scenery also changes the further down you go. As the mountain shrinks, the ocean view increases and you’ll see a slow transition as the environment changes around you.
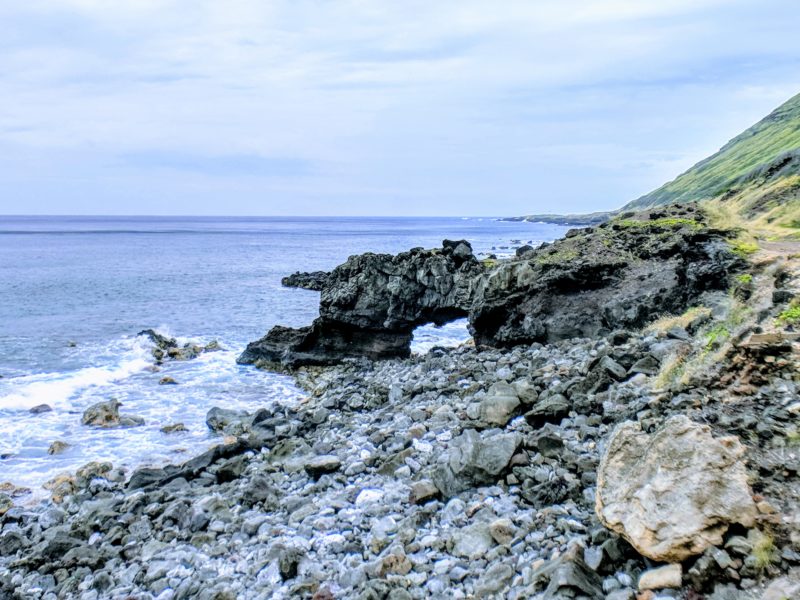
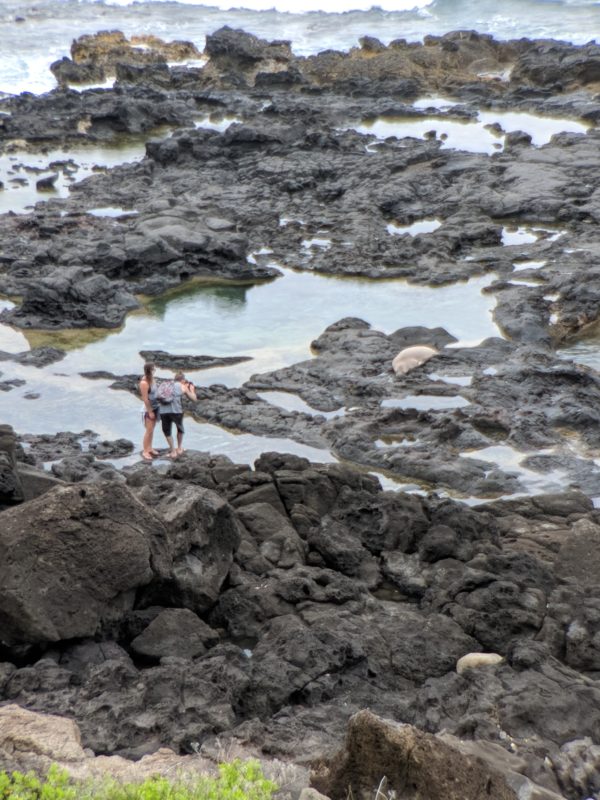
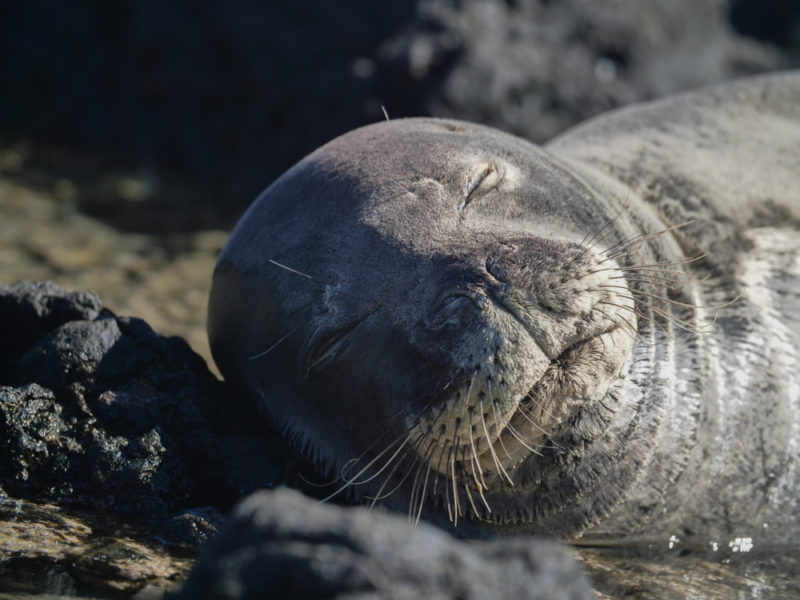
Once you begin to see the rocky beaches, keep an eye out for the Hawaiian monk seals. They like to roll in the surf or lie in the sun to warm up. If you’re hiking December thru May, scan the horizon for puffs of air – these are the spouts of humpback whales. You’ll have the highest chance of spotting a whale in February.
Read More: A Short And Basic Guide For Whale Watching In Hawaii
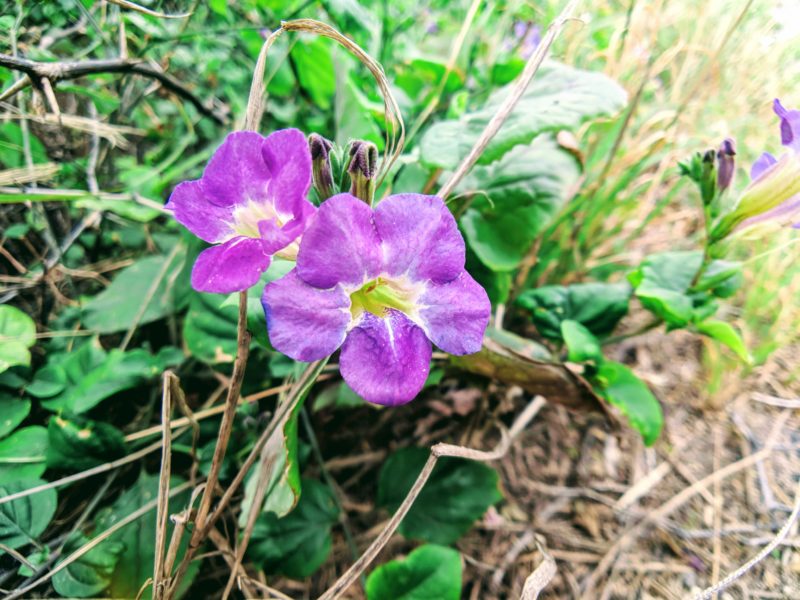
Depending on which time of the year you decide to hike, the flora and fauna will also change. Small flowers dotted the trail and because of the spring showers we’ve been having, the grass was green and overgrown. All too often the Kaena Point hike is a drier and hot hike (which still doesn’t detract from the overall beauty).
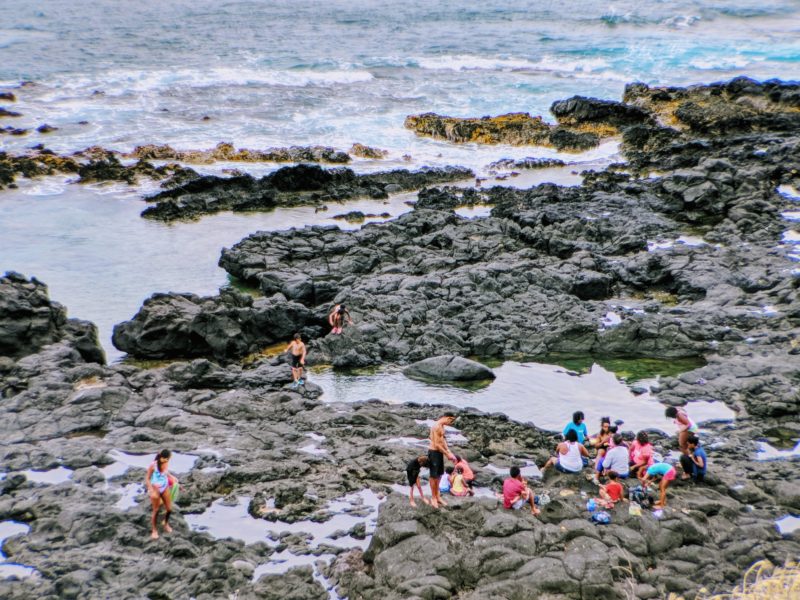
I also came across a large group of children playing in the tide pools. The tide pools are one of the easier places to access a swimmable area on this route, but you’ll still have to go down a dirt slope. There is somewhat of a dedicated pathway (a dirt pathway along a grassy hill), but it’s a great place for kids to discover and enjoy the ocean if you don’t have a problem going up or down hill.
On the way back to the car, we saw a monk seal lazing about as well! It seems people aren’t the only ones who enjoys tide pools! Remember to keep your distance with monk seals. They have attacked people before (usually because they are too close) and are extremely dangerous if they have a pup with them.
Read More: How To Stay Safe With Hawaiian Monk Seals
Near the middle of the hike, you’ll come across some old train tracks along the trail. These are remnants of the sugarcane days where they used the train to move the sugar cane. There are only a few spots left in Oahu where you can view these tracks, so it’s neat to be able to see them so clearly.

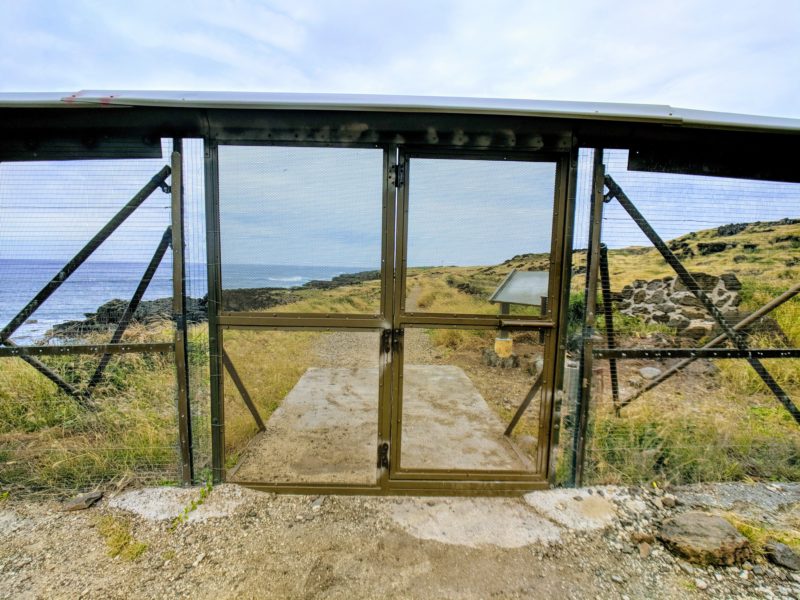
Eventually you’ll come upon “the wall”. This is a heavy duty fence that is meant to keep predators such as mice, rats, mongooses, feral cats and dogs out of the bird sanctuary so that these birds can live an undisturbed and peaceful lifestyle. Shearwater nests are in the ground so the chicks and even the adults would make easy prey were it not for this fence.
The fence has no locking mechanism, but instead it is very heavy. You’ll have to push fairly hard in order for it to open and squeeze by before it closes again. This is of course to prevent predators from entering using their brute strength. In fact, it will be difficult for even children to open. This fence sections off the whole Kaena point so you’ll encounter it from both access points. Because of its weight be careful to keep all fingers and toes out of harm’s way!
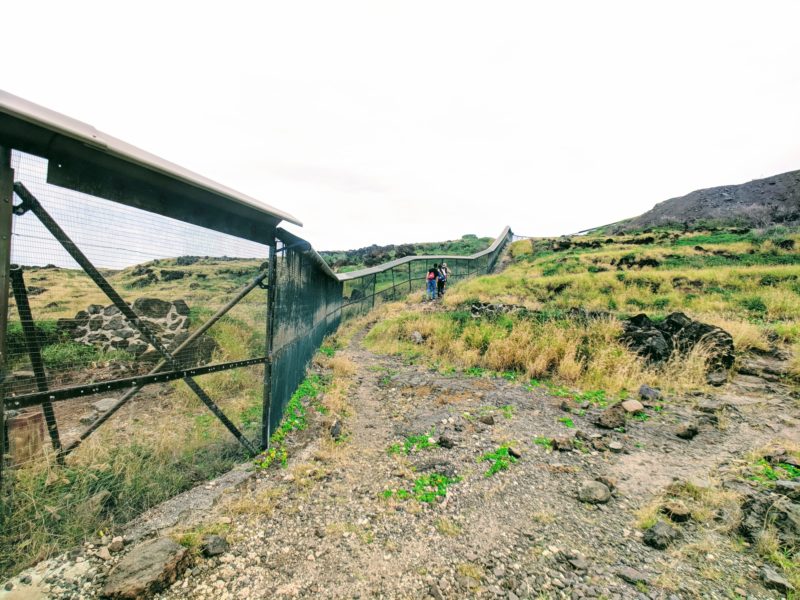
Once you get past the gate, it’s almost a straightshot to the point. The Waianae mountain range rapidly falls away behind you and the sky seems to blow up to gigantic proportions. It’s definitely an incredible landscape far different from what you’ve seen on the hike itself.
Once you reach the sandy area, you’ll be introduced to the variety of birdlife that call Kaena Point home. The most noticeable are the albatrosses. They are large and can be seen (and heard) gliding along with the zooming winds. If you’re lucky enough to spot a chick (they’re big but easy to miss because of their dark brown feathers), snap plenty of photos. In general the chicks don’t really move and for the most part seem to ignore you.
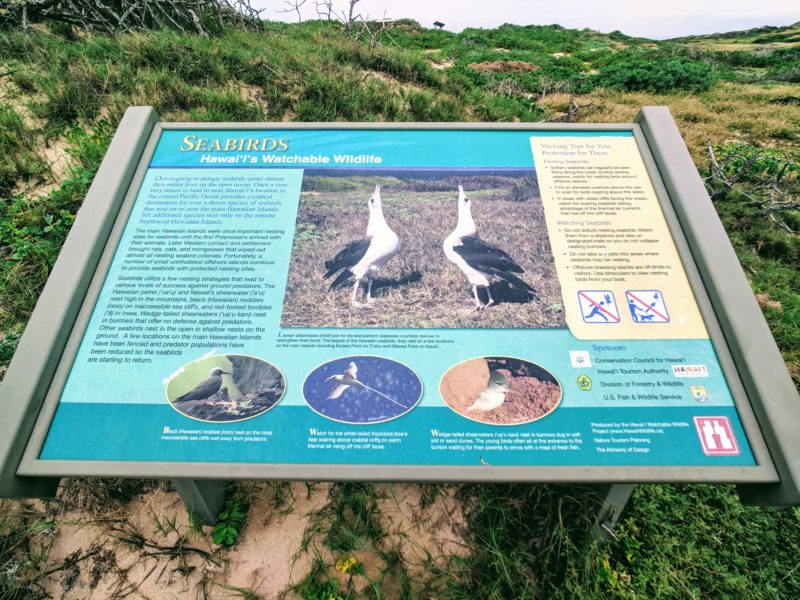
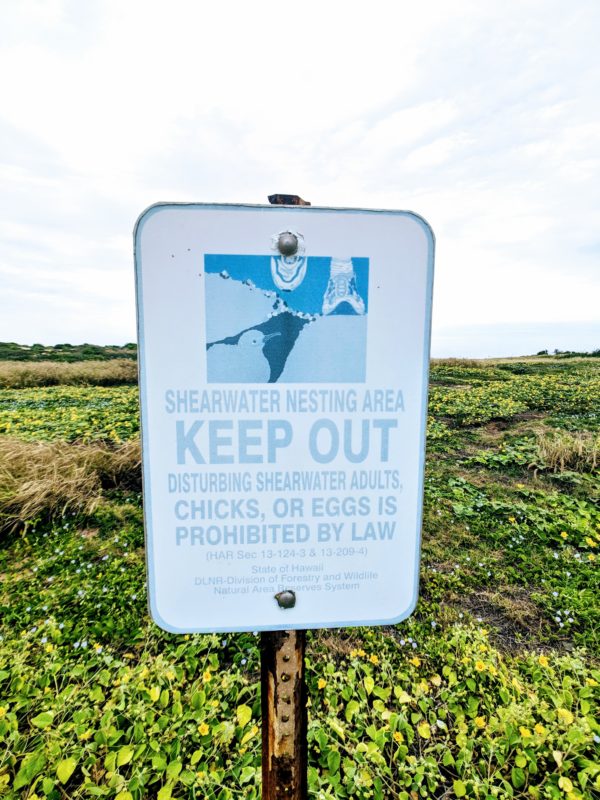
The Shearwaters are also a unique sea bird that burrow their nests underground in this area. I bent down a number of times to peek inside small holes, but unfortunately didn’t spot any on this excursion. However, the last time I came here I saw plenty of shy Shearwaters peeking out from their dark tunnels so it’s really the luck of the draw. As the sign says, stay on the roped pathway so you don’t unknowingly smash any fragile nesting grounds.
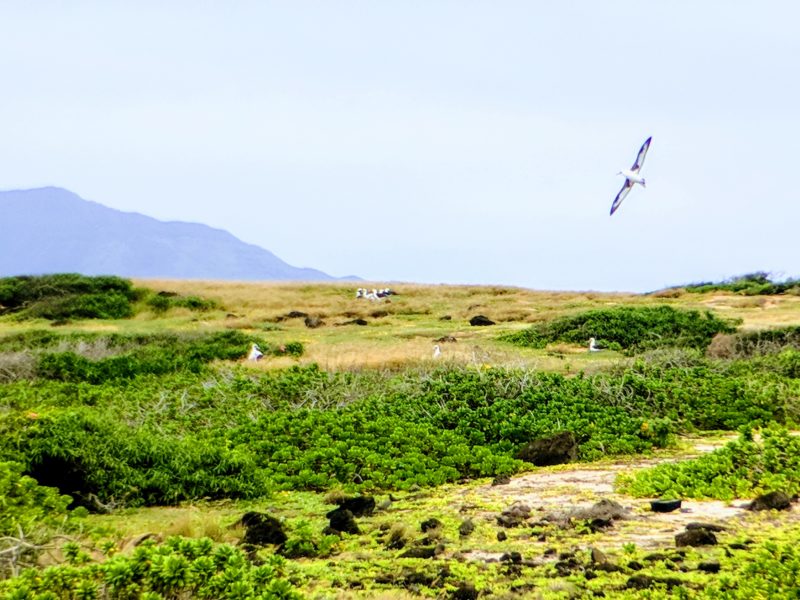
Most of the albatrosses will be farther away. On this day, they huddled in groups but it was easy to see them because they really stood out from the greenery. They were also constantly flying and gliding up, around and over, which was such fun to see! Since they’re so much bigger than normal birds, the distance didn’t really matter and they get pretty close to you while flying. They also LOVE to make noise. There was an endless series of honks that could only make me giggle.
These two took me completely by surprise. Initially, the parent was with its chick and both were right next to the trail! The adult waddled off when we came closer, but kept their baby in sight as we took pictures. I almost didn’t notice the chick because of it’s dark brown feathers and how still it was. It almost had me fooled that it was a rock and I had to do a double take.
It was an amazing opportunity to see these two up close and in their natural habitat. They are so much bigger than your normal birds (the chick was about a foot tall and seem to possess a sense of calm that you don’t really see in other bird species.
What a cool hike! Added it to my Hawaii bucket list.
Awesome! I always bring visiting friends to this hike. As long as you go early, you’re good. Otherwise that sun can be a killer!