This post may contain affiliate links, which means I'll earn a small commission if you purchase something through these links. You won't pay any extra; instead, you'll be helping Aloha With Love to thrive. Thank you! Learn more.
--
I’ve never considered going on an Oahu photography tour before. Like most people, I’m a point and shoot kind of girl and probably don’t put as much thought as I should into each shot. In fact, this Oahu photography tour was a suggestion – and I am so glad I decided to listen to them!
I am not a talented photographer. Which is why I am incredibly lucky to live in these times where a great camera is right in my pocket. These days my Google Pixel 2XL has become my best friend, despite my basic “point and shoot” method.
This North Shore photo tour was perfect for me to really understand how to use my smartphone camera. I had plenty of time to take that gorgeous shot while learning about the history, flora, fauna and culture of each place we visited. There’s such a difference in your photos when you are encouraged to take the best photo possible instead of snapping a quick shot and running after the tour guide.
Have a look at these photos and let me know what you think about my Oahu photography tour experience! Personally, I think I’ve leveled up my photography skills! Also, a huge MAHALO goes out to HawaiiActivities.com for sending me on this incredible tour.
Aloha with love,
Amy
Oahu Photography Tour – What To Bring
- Camera – DSLR, smartphone, digital, disposable or none! The guides are familiar with all sorts of cameras and will help you up your game. Or, if you’d rather just enjoy an in-depth tour at a slower pace, just bring yourself.
- Water – You won’t be losing your breath, but having something in the car to quench your thirst between each stop is a good idea.
- Light jacket – Optional. This would have been nice to have because it was raining at Waimea Falls and a bit chilly – but I survived. Check the weather before you bring this with you, otherwise it’s just one more thing to carry.
- Hat – Optional. Again, this would have been nice since it was so rainy on the day I went.
My Oahu Photography Tour Experience – North Shore Photography Tour
My day started in Waikiki at 6:50 AM. I got a phone call from our guide and driver, Brian Doyle, just a few minutes earlier before pickup time, which I appreciated. It was very easy to spot the “Oahu Photography Tours” van so I didn’t have to worry about if we couldn’t find each other. There were only two of us on the tour (Hi, Ada!), but I can see this van still being comfortable even with a full house. Just look how much space there is!
If you love photography, check out Brian Doyle’s Instagram HERE. His wildlife photos are spectacular and you can see his passion for nature in each shot. Honestly, his stories behind each photo was just as interesting as this tour!
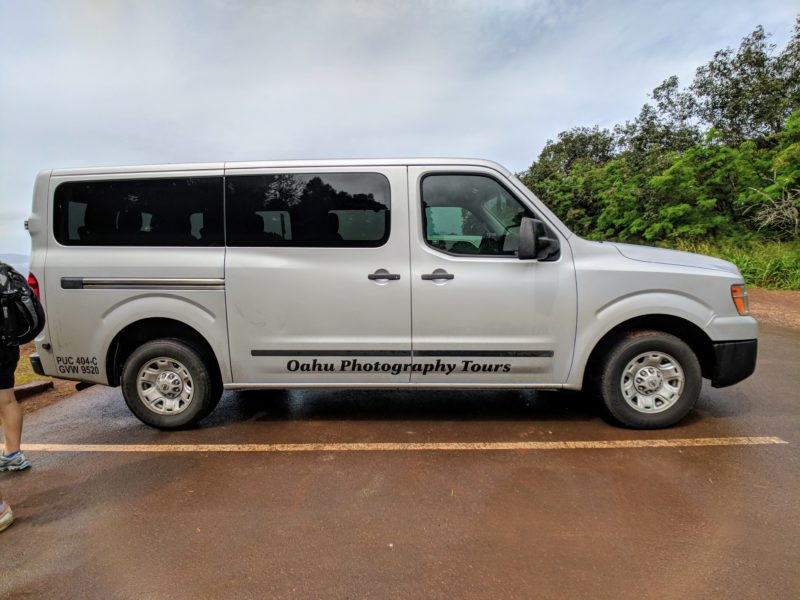
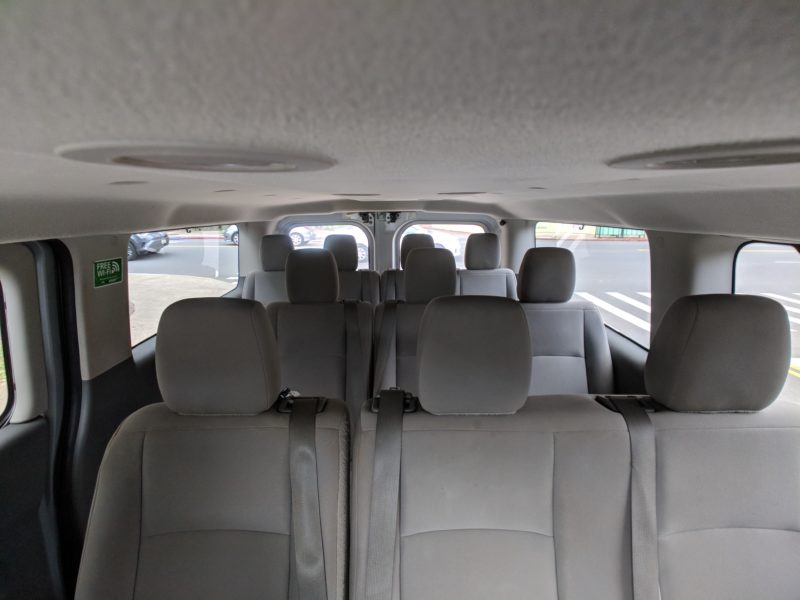
Wifi was available during the ride and there was plenty of room for any camera gear and backpacks we brought. As we made our way to the North Shore (about a 45-minute drive), Brian took this time to find out what we really wanted out of this tour – which I thought was fantastic since this is a tour that is meant to improve our photography skills. Based on each person’s experience and skill level, the guides will teach what you can and want to learn.
Personally, I wanted to learn how to truly use my smartphone camera to the best of its ability since all I’ve ever done with it is point and shoot. Because of the range of what is possible for you to learn, this is not your ordinary big city tour bus experience. The North Shore Photography Tour offers a personal guide who will match your pace, interests and ability. It is perfect for any camera lover at any level.
Stop #1: Coffee
Our first stop on this early morning Oahu photography tour was…coffee.
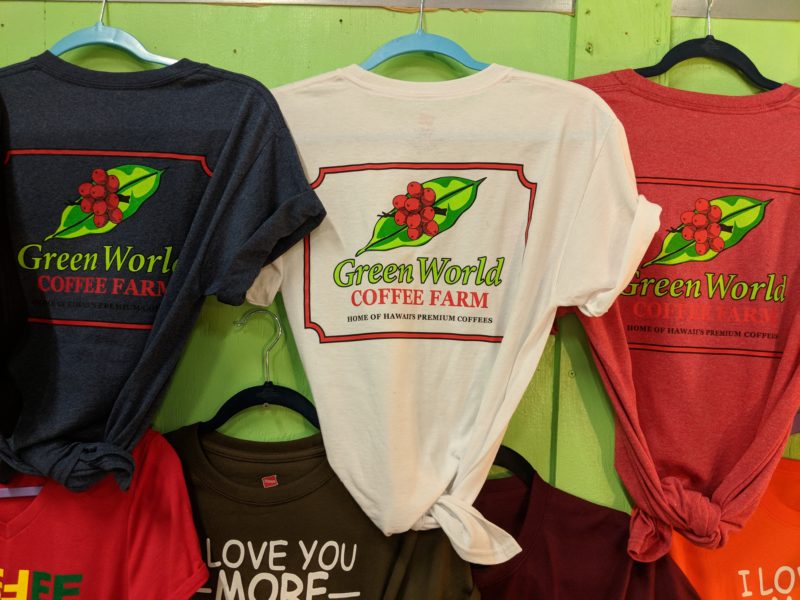
Okay, it was actually a coffee farm/souvenir shop, which I’m sure most of you would appreciate. We reached Green World Coffee Farm at about 8:45 AM and a nice hot cup of coffee was a welcome sight.
Instead of ordering a large cup of coffee, I stuck near the free samples where I could taste different coffee flavors as I explored the souvenirs and various coffee beans. The decor in here is very interesting and is worth a long look.
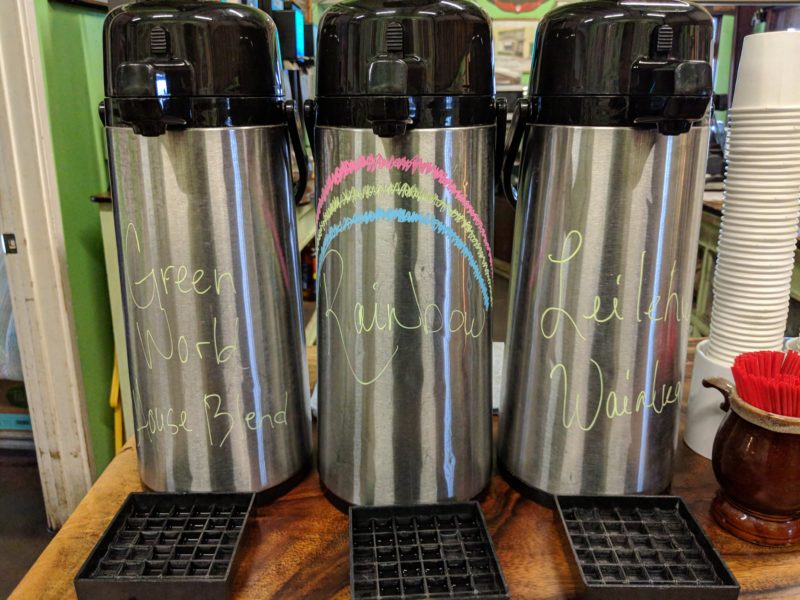
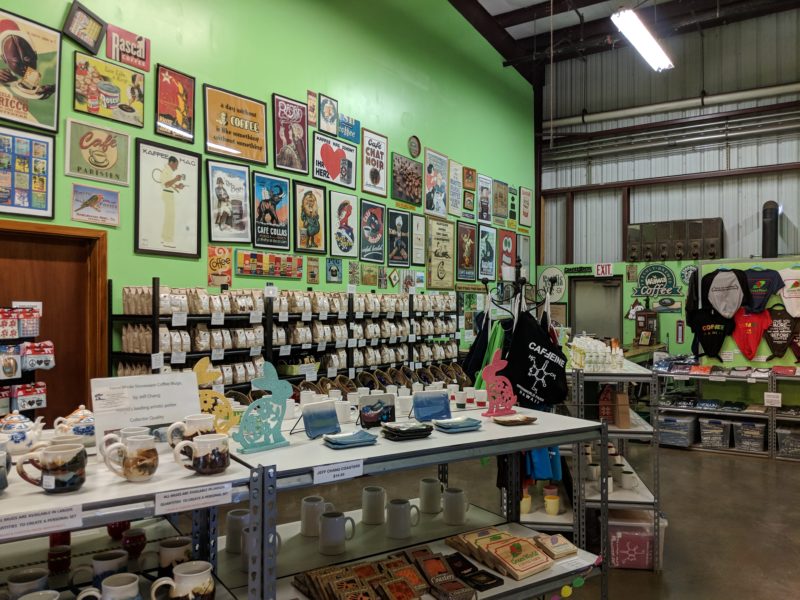
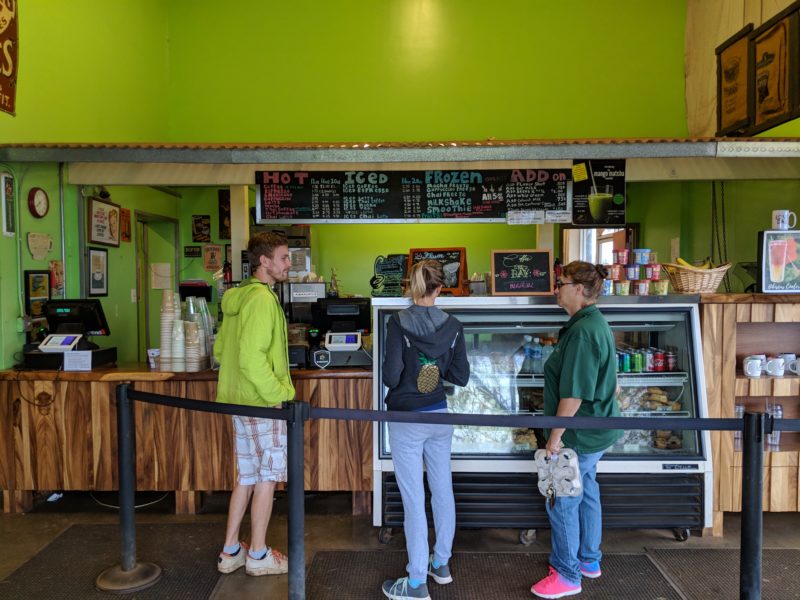
While we were here I noticed there was always a growing line for the coffee, despite how far removed this place is from Wahiawa and Haleiwa (the two towns Green World sits between). A look outside the store and all you’ll see is farmland so you’ll get the sense that this coffee farm is truly “in the middle of nowhere”.
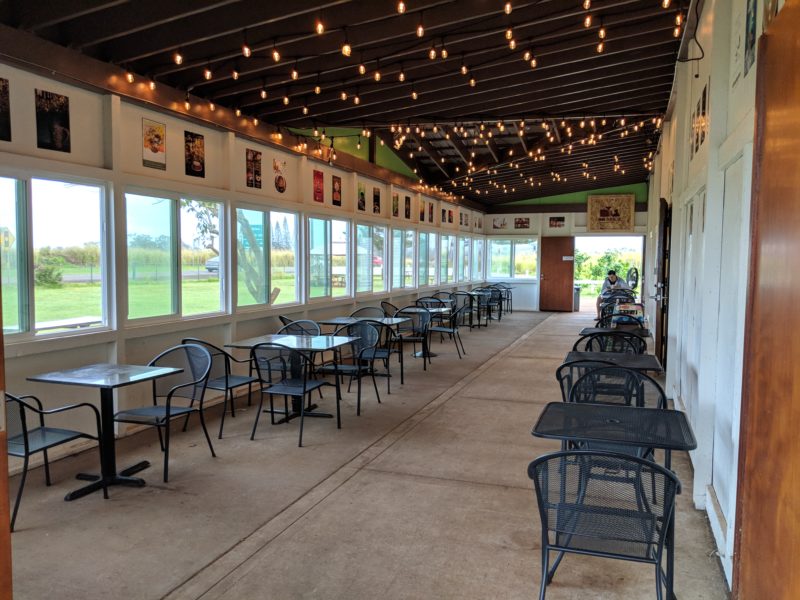
Next door to the shop are several tables and chairs with a fantastic view outside. Just look at the scenery! I was tempted to sit and relax here with a hot cup of joe, but since I was on a schedule, I’ll leave this as a recommendation!
For those of you heading to the North Shore from Waikiki in the early morning, give Green World Coffee Farm a try. It’s right on Kamehameha Highway and hard to miss. Green World gets its name from the type of coffee bean they buy statewide (green beans), so if you have a strong interest in coffee, put this on your list! Try the peaberry!
Stop #2: Shark’s Cove
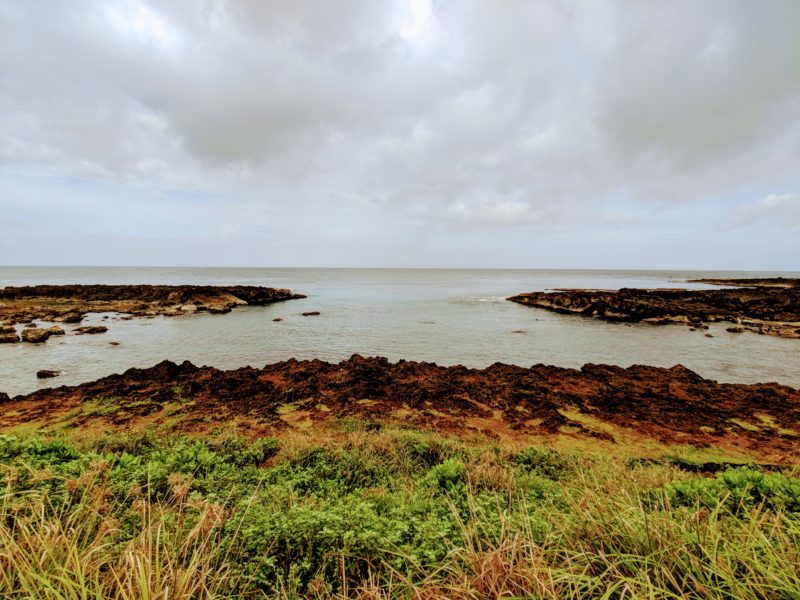
Our next stop was Shark’s Cove where we had our first Oahu photography tour lesson.
I learned how to do panoramic shots (the proper way) and Brian taught me some filtering tricks to get different colors to pop out. You can see that we really got the green grass and red rocks to stand out here.
If you’re planning to bring a DSLR, even better! There is that much more for you to learn and experiment with. Brian was incredibly knowledgeable and gave Ada a bunch of DSLR tips that he’s learned from his many years of experience.
Read more: Snorkeling at Shark’s Cove in Pupukea
Stop #3: Waimea Valley (Waterfall Shots!)
Our next stop was Waimea Valley where we spent most our time – this is where the bulk of the Oahu photography tour magic happens. Waimea Valley is a gorgeous place to explore plants, trees, geckos and birds that you normally wouldn’t see on your drive around Oahu. While you can come here by yourself, there is a $16 entrance fee that you’ll have to pay. Plus, a shuttle ride up to the waterfall will cost you another $6 one way ($10 round trip).
Waimea Valley is not just a large garden/jungle with pathways – it is an educational tour about the large Hawaiian village that used to exist here. You’ll see the architecture and learn about their traditional way of life. Traveling with an Oahu photography tour guide also ensures that you get here before the crowd, are introduced to beautiful photo spots and get a lot more information than what’s posted on the various informational signs.
Check out this monkeypod tree that I took right in the parking lot. I love how I managed to make it come out a bit spooky and otherworldly.
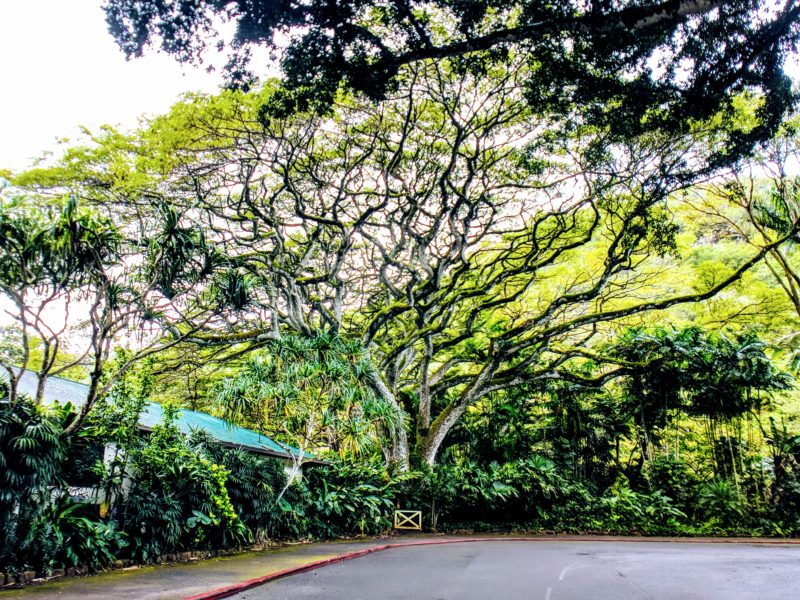
Brian had us ride the shuttle up to the waterfall first, which I am so glad we did. Since we were one of the first to arrive at the waterfall, we had the pleasure of taking photos without random people photo bombing our shots. We had a clear view of the waterfall and could take and retake multiple shots from every angle without worry.
Local Tip: If you want to see Waimea Falls like this, make sure you go when it’s been rainy. Otherwise you’ll just see a trickle.
Here are a few of my favorite waterfall shots.
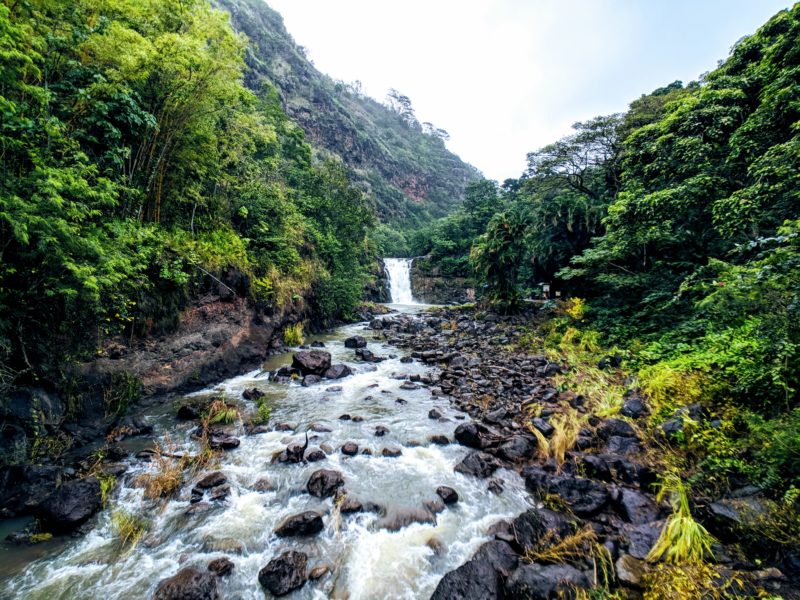
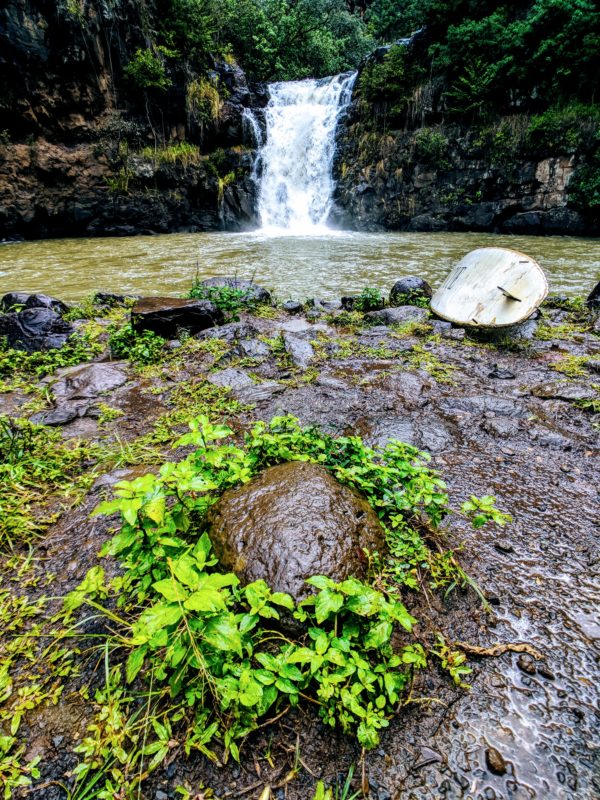
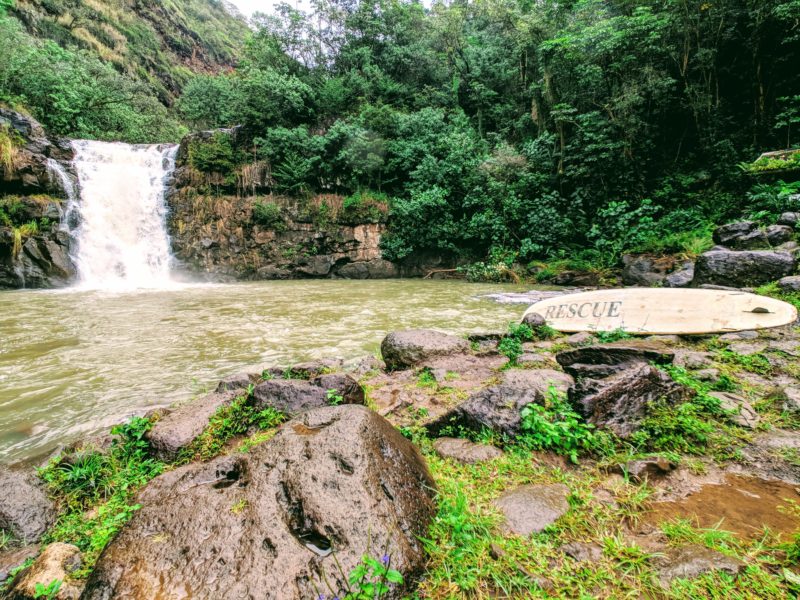
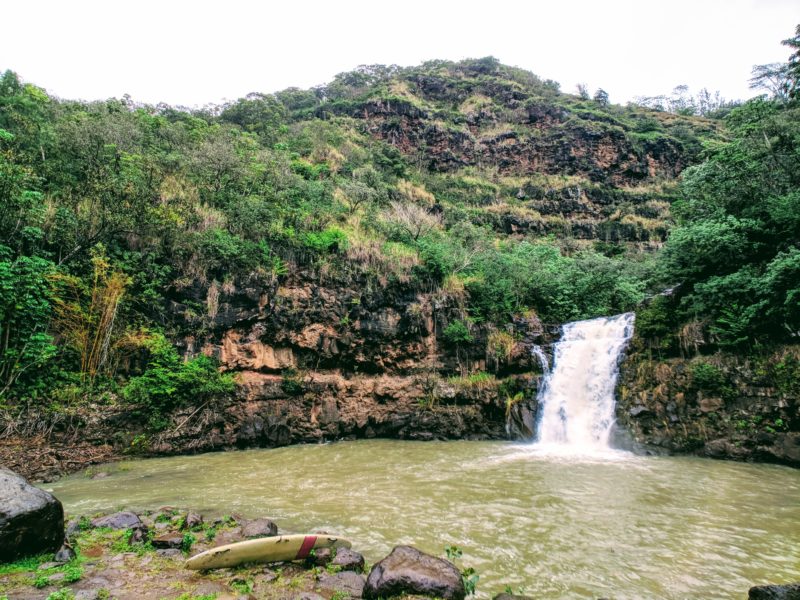
We spent quite a while here taking shots, analyzing each one, taking better ones and generally going shutter crazy, but how can you not? The Waimea waterfall is picture-perfect.
We finally started our descent at a stroll and stopped to take pictures and practice our newly-learned skills. Brian was a wealth of information about the different plants and birds that we saw, which added another dimension to the tour.
Tour Tip: All of the rain throughout the day was actually a blessing in disguise! Water would bead up on the plants and flowers so it was a perfect day for those close up flower shots. Not to mention that it made Waimea Falls the largest it’s ever been in a while.
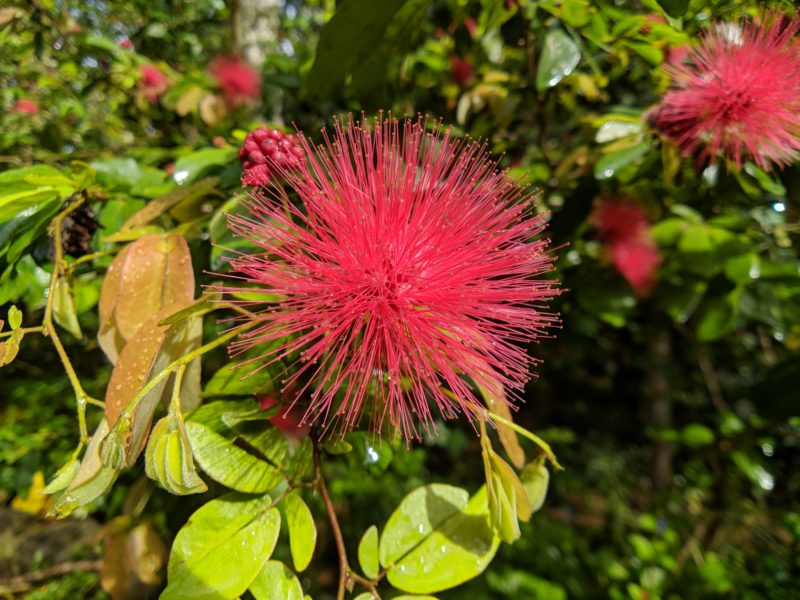
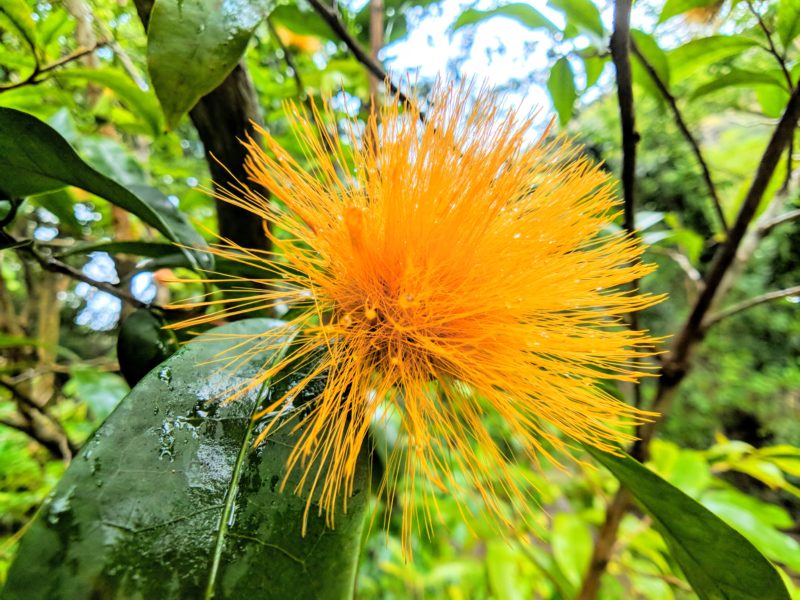
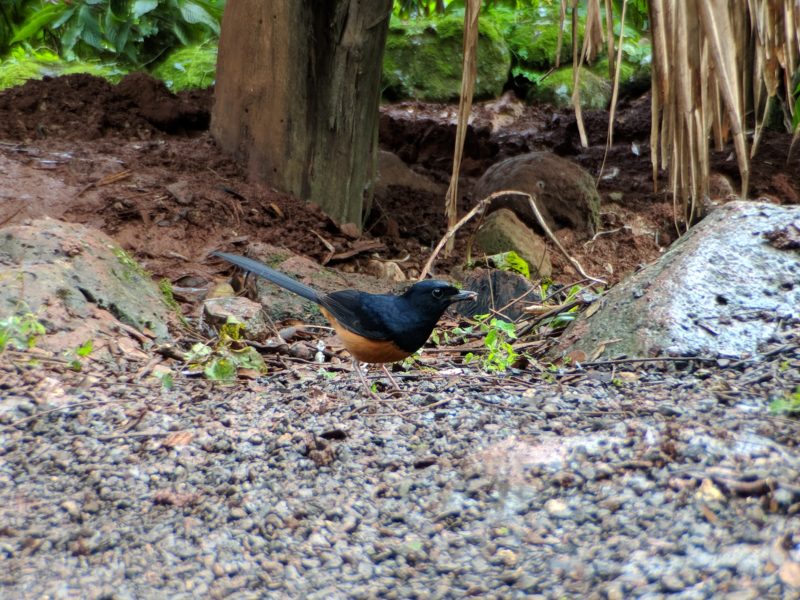
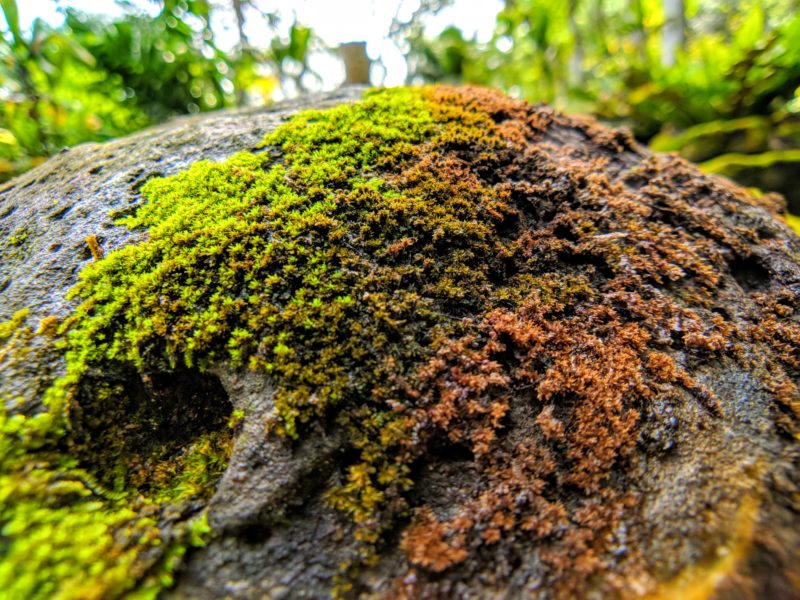
Stop #4: Pupukea Heiau
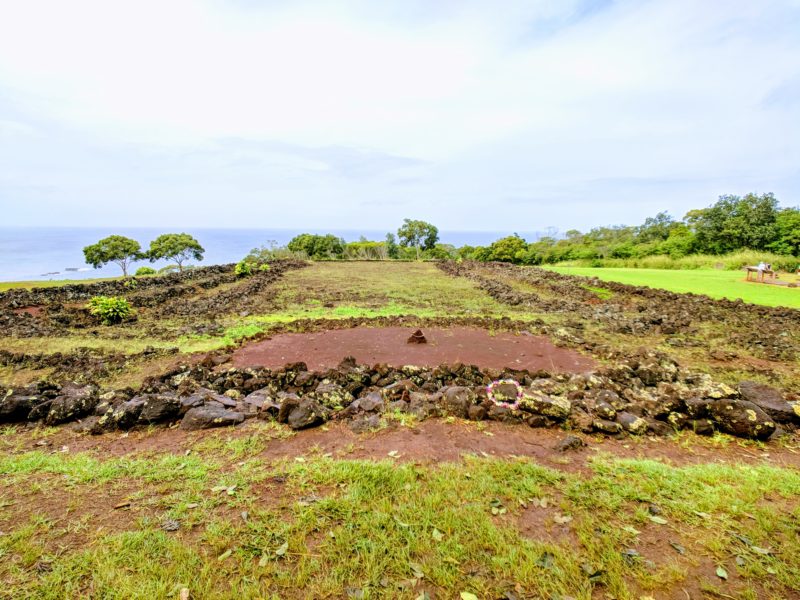
After Waimea Valley, we headed up the mountain to Pupukea Heiau, which is thought to be a very important religious site for the ancient Hawaiians. The grounds are immense, but the best part is that view!
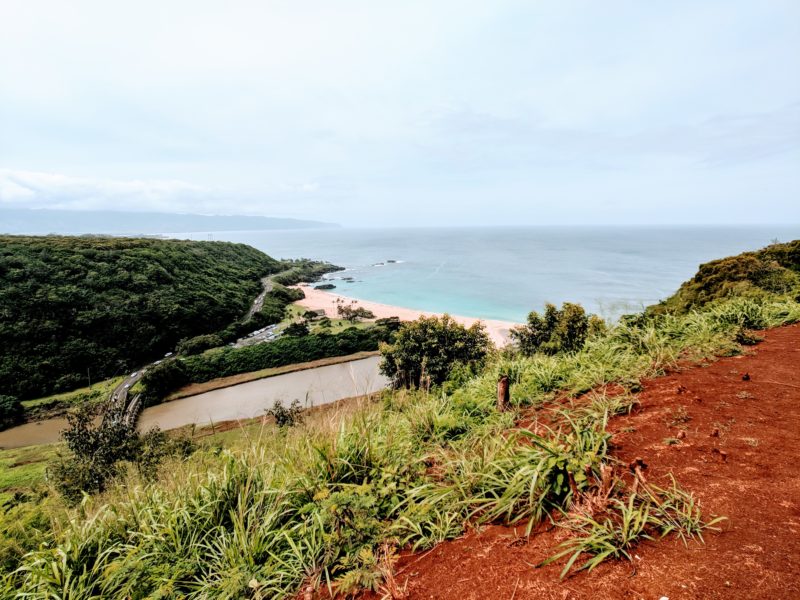
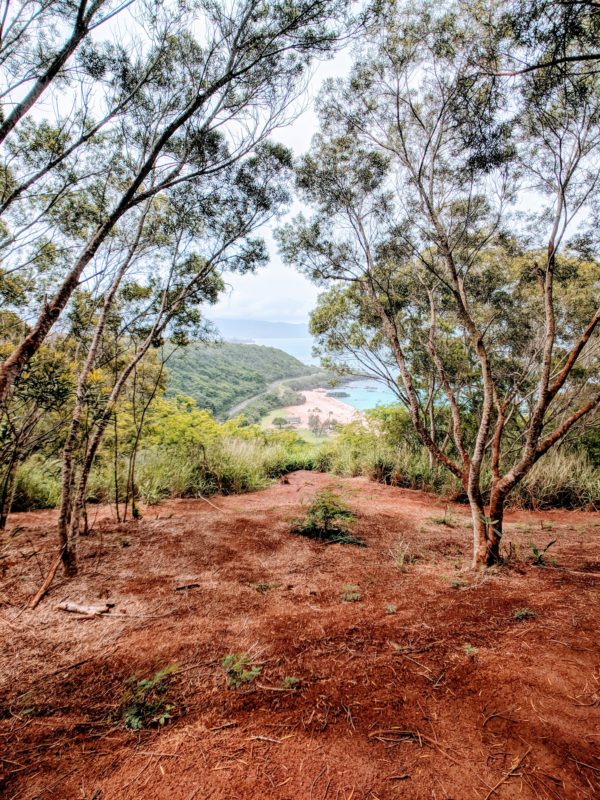
This was another great spot to really practice with my light and shadow controls. There were three bright colors in the photos (red dirt, green forest, blue ocean) so it was fun to play around with these effects.
Local Tip: Whales can be spotted in Waimea Bay on occasion, which is what happened to us! I got to see them for about a minute before they dove down and waved goodbye with their tails.
Stop #5: Papailoa Beach
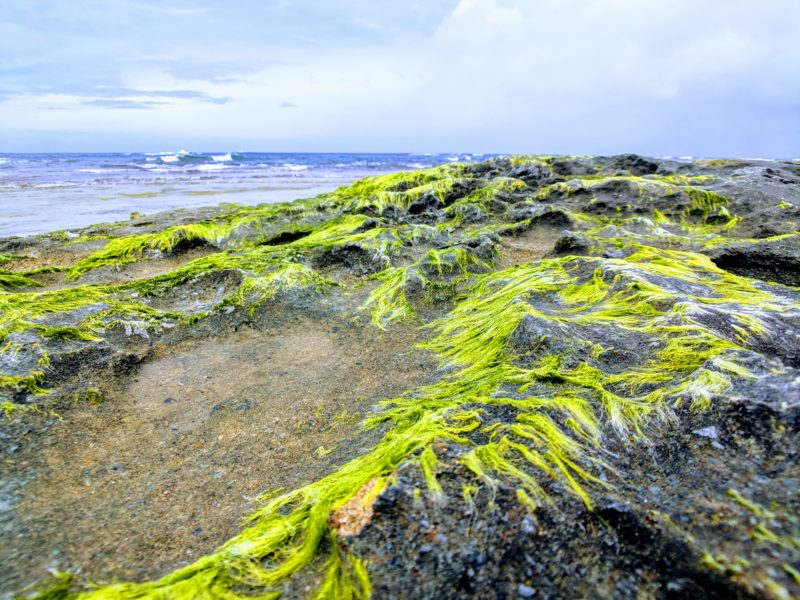
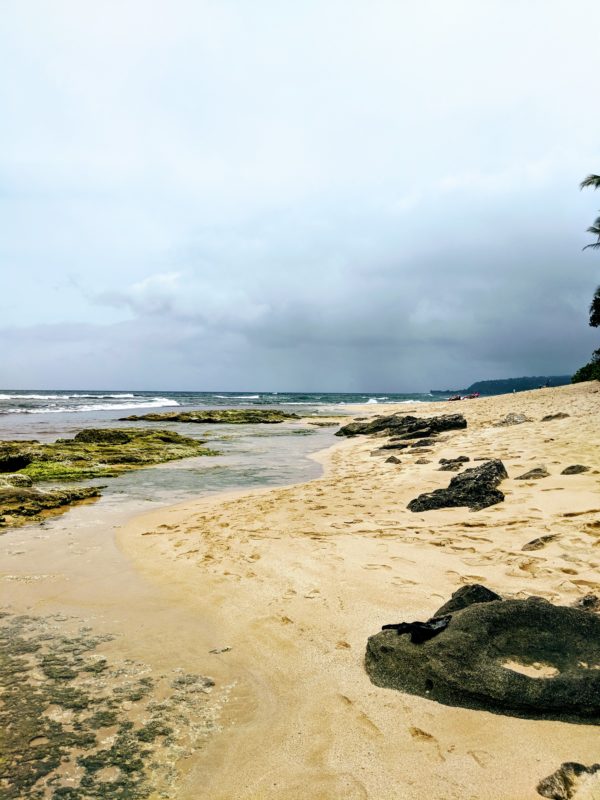
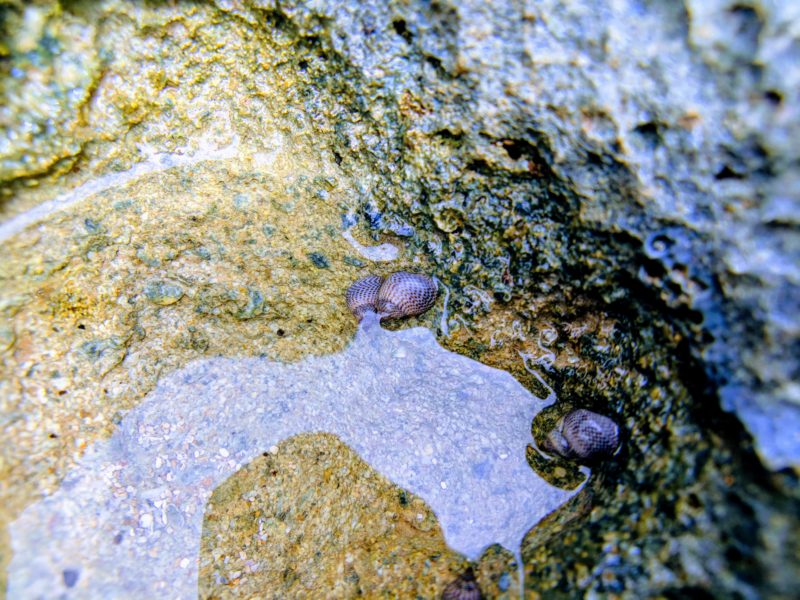
Our last stop was Papailoa Beach which is known for the occasional sea turtle drifting through the shallow waters. There are a bunch of fun crevices and colors that can be found here, which made the perfect backdrop for my photos.
Lunch was the last thing on our plate, where we had our pick among the variety of food trucks and Haleiwa eateries. These were delicious and very filling. Plus, with so many choices, you’ll be able to find something to your liking.
Here are a few of my favorite shots at Papailoa Beach.
I really enjoyed this tour and had a blast with our tour guide, Brian. The whole experience felt like a local friend was guiding me around and I didn’t feel rushed at all. Because this was a photography tour, I found myself really sinking into the tiny details of each shot and asking more questions that I normally would not have asked.
This tour is a great choice for anyone with a camera they would like to learn to use better. It’s also a good tour for those who may not be able to walk too fast or too far. The slower pace accommodates slower walkers and allows everyone to explore their curiosity to the fullest.
