This post may contain affiliate links, which means I'll earn a small commission if you purchase something through these links. You won't pay any extra; instead, you'll be helping Aloha With Love to thrive. Thank you! Learn more.
--
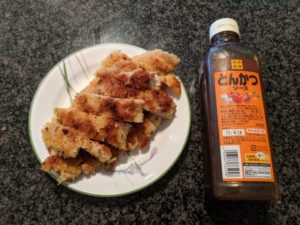
Chicken katsu is originally a dish from Japan, but it’s also commonly found in local restaurants in Hawaii. The usual chicken katsu recipe you see online often has you dip the chicken in each outer ingredient (flour, egg, panko) in a separate tray. But realistically, the faster you can get food out on the table for the family, the better. This is Mom’s quick and easy way to make chicken katsu.
Aloha with love,
Amy
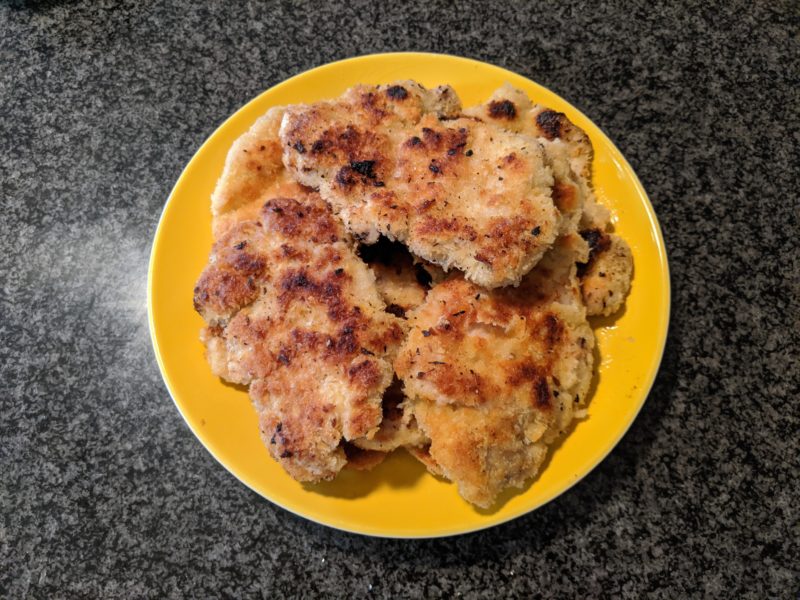
Ingredients
- 5 lbs chicken thighs
- 1 tsp salt
- ½ c all-purpose flour
- 3½ c panko Breadcrumbs
- 3 eggs
Instructions
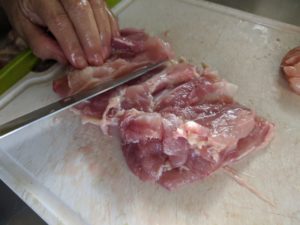
- Remove bones and skin from the chicken thighs. Butterfly the thicker areas in the thighs so that the overall thickness is uniform. (We made chicken rinds from the skin and chicken stock from the bones.)
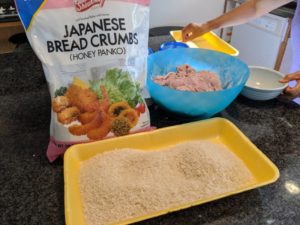
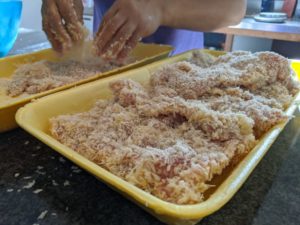
- Prepare the panko (breadcrumbs) in a large flat tray. We use these large yellow trays that hold frozen chicken from the grocery. Baking trays and large bowls are also an option.Make sure you do this before you start adding ingredients to the chicken. You want to do the next few steps quickly in order to get as much panko as possible sticking to the chicken.
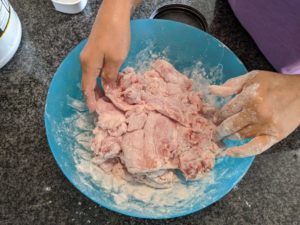
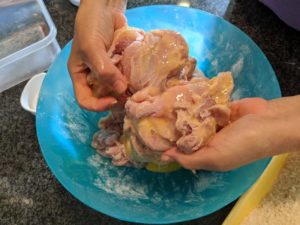
- Put the chicken thighs in a large mixing bowl. Add salt and mix. Add flour to the chicken and mix. Be sure to get into every crevice and all the "wet" spots are covered. The egg will not stick to the chicken if there is no flour to adhere to.
- Scramble the eggs and pour over the chicken. Mix and make sure the egg covers the chicken everywhere. You want a healthy amount of eggs to be on the chicken. However, if your chicken is "dripping wet" you've used too many eggs.
- Press the chicken down into the tray of panko. Flip and repeat for the other side. Work more panko into the crevices and edges of the chicken. Continue until all the chicken has been covered in panko. Add more panko as needed.
Cooking
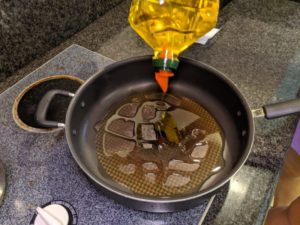
- Add a good amount of oil to a large frypan on high heat. Bring the temperature down to medium or medium-low as you cook. Give each chicken a firm press before you put it on the frypan. This will help the panko stay on the chicken as it cooks.
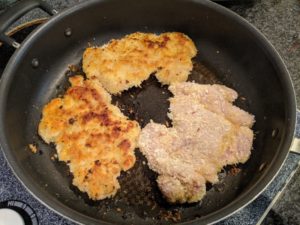
- Flip when golden brown. The chicken is done when you can easily poke a hole through the meat.
- Slice and serve. You can eat this with any katsu sauce or make your own with some ketchup, shoyu and a little sugar.
Notes
- Mom ended up cooking just half of this chicken katsu for dinner for 4. The other half was kept in the fridge for the next day.
- If you buy bone-in chicken thighs, debone them and use the bones for your next chicken stock. After cooking the bones, the bits of leftover meat fall off easily and we use them as a treat for our dog (the cooked bones are thrown away).
- We always try to use as little oil as possible when cooking. If you want that gorgeous golden brown on both sides, use more oil to get a deep fried effect.
- The amount of chicken you end up with after taking out the bones and skin will differ each time. Adjust the amount of eggs, flour, and panko as needed. This recipe is what Mom ended up with this amount of chicken.
- Chicken katsu matches really well with curry. In fact, Hawaii has a local dish called chicken katsu curry that’s often served at plate lunch restaurants.
