This post may contain affiliate links, which means I'll earn a small commission if you purchase something through these links. You won't pay any extra; instead, you'll be helping Aloha With Love to thrive. Thank you! Learn more.
--
UPDATE: As of May 12, 2022, reservations are required to hike Diamond Head. Click here to visit the DLNR Diamond Head State Monument page and get started on your reservation. Book it early because it runs out fast!
As requested, here is the How to get to Diamond Head and Back ultimate guide! Find out everything you need to know and expect when you head over to this popular and iconic hike on Oahu, Hawaii.
I’ll go over the difficulty level, facilities available, cost, what you need to bring, the parking situation, scenic points, tips, dangers and safety. I took plenty of photos to give you a step-by-step guide from my personal experience and if you scroll down to the bottom of this post, you’ll see a cheat sheet of Diamond Head tips.
Enjoy the hike!
Aloha with love,
Amy
Diamond Head Quick Facts
- Open from 6 AM – 6 PM year round, including holidays. Latest hike time is 4:30 PM.
- Cost is $1 per person if walking into the crater or $5 per vehicle if driving in.
- No smoking, pets, strollers, climbing the walls, bicycles, alcoholic beverages or camping allowed.
- Bring at least 1 water bottle for the average person. Hat, sunscreen and athletic shoes recommended. Small flashlight for the tunnel optional.
- Leave the mosquito repellent at the hotel.
- Bathrooms, gift shop, info booth, water fountains, picnic tables and refreshment truck are near the trailhead.
- A nice, cold shave ice is recommended after the hike, but beware of the bees that hover near the trashcans (it’s all that syrup).
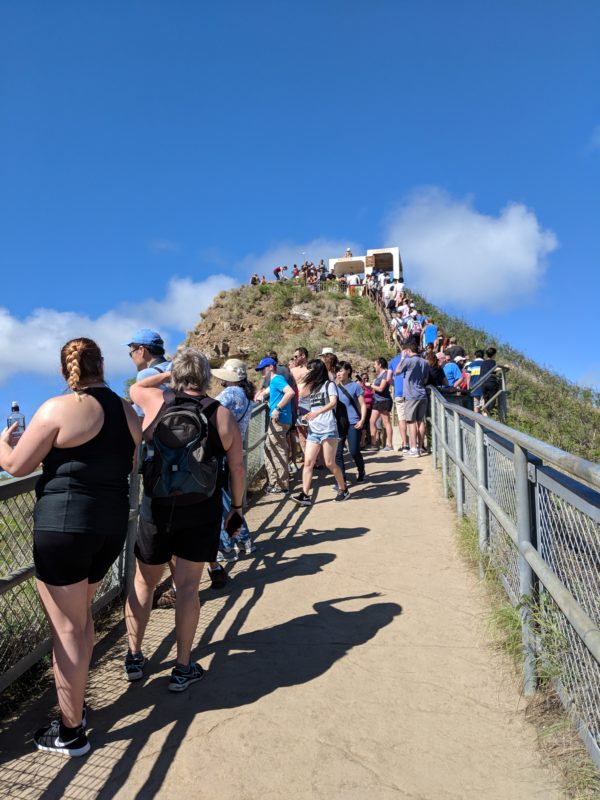
- Expect uneven ground, thigh-burning stairways near the top, a crowd during peak times, lots of sun, less wind (inside the crater) and a gorgeous view!

How To Get To Diamond Head
How to get to Diamond Head from Waikiki By Bus
Most Diamond Head hikers come from Waikiki. No surprise here since Waikiki is tourist central. The cheapest way to get here is by city bus. Depending on the bus route you take, you’ll want to head to Stop 4538 (Kapiolani Community College) or Stop 4591 (Diamond Head Road + KCC Culinary School). You can visit The Bus website to find out the best route closest to you, but I prefer using their app (DaBus2) – it’s really handy to have around and easy to use.
Once you get off the bus stop, follow the parking directions below (How to get to Diamond Head Crater Parking) for instructions on how to get to the Diamond Head entrance.
How to get to Diamond Head from Waikiki by car
By car, it’s only about a 10-15 minute drive from Waikiki. The easiest way to get to Diamond Head is to get on Monsarrat Avenue (the one-way street between the Honolulu Zoo and Kapiolani Park). Once you have the zoo on your left and the park on your right, go straight ahead and it will eventually go uphill and become Diamond Head road.
If you’re staying at a hotel in Waikiki, you can always try asking the front desk on how to get to Diamond Head. Some hotels will have special deals on shuttles, trolleys or other transportation that can get you to this amazing hike.
Diamond Head Parking
Diamond Head crater parking lot
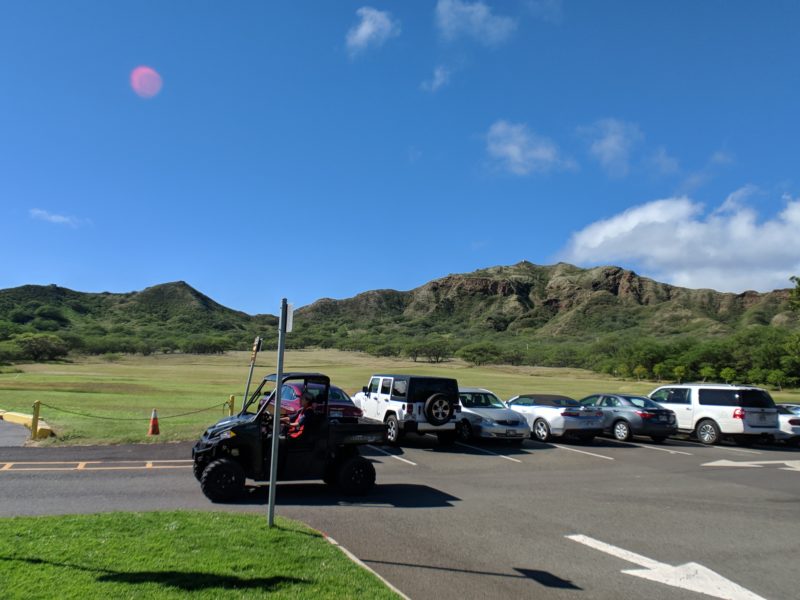
There are limited spaces inside of the Diamond Head crater. Getting here before 9 AM or after 2 PM will give you the best chance of grabbing one of these coveted parking spaces. However, each vehicle will cost you a $5 entrance fee (walking in is $1 per person). Commercial vans cost even more so you can figure that into your tour expenses.
Check out the DLNR’s Diamond Head page for the most update information.
Parking Outside Diamond Head At Kapiolani Community College (KCC)
The other option for parking is outside of the crater in the Kapiolani Community College parking lot. Parking here is plentiful and will add a 20 minute walk each way as you make your way inside the crater. However, I actually prefer this method because there’s a beautiful scenic spot right before the Diamond Head crater tunnel entrance (Kahala Lookout). Walking through the tunnel is also a unique experience itself – the air cools down significantly and you’ll get to experience firsthand how thick the crater walls actually are. Plus, it’s really hard to beat that slow-motion moment as you emerge out of the tunnel and find out how large the crater is.
Local Tip: Twice a week the KCC Farmers’ Market takes place here so figure that crowd into your parking plans.
How to get to Diamond Head crater parking lot
As you drive (or walk) up Diamond Head road, you’ll see the Diamond Head crater wall on your right. After you pass the KCC Culinary School, look out for the signs pointing to Diamond Head and make a right turn. This right turn will also be the spot where the “LOT FULL” sign and someone waving you by will be when there are no more parking spaces in the crater left.
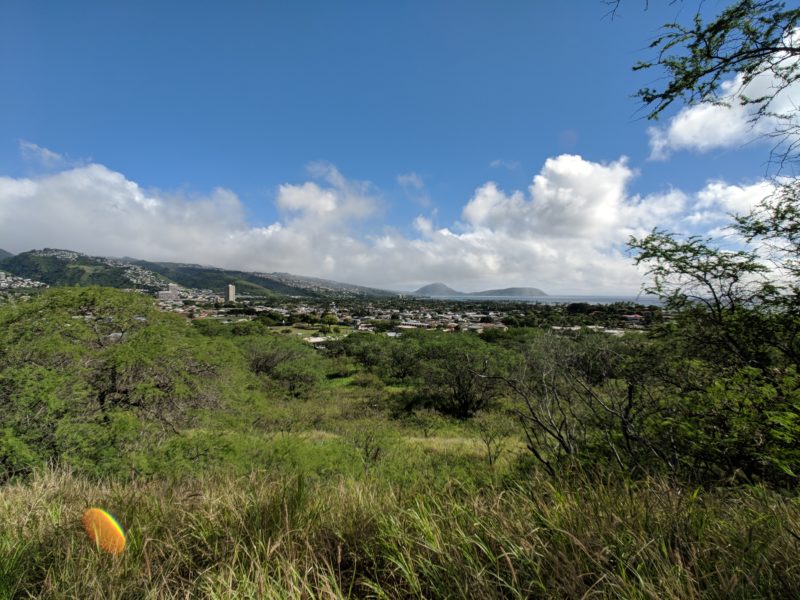
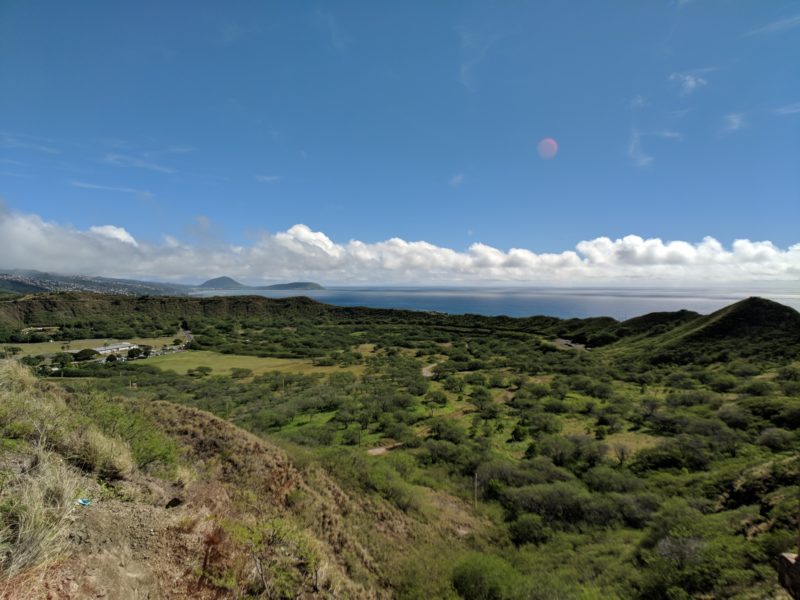
You’ll be at the crater entrance in less than a minute, but it’s worth it to park in the small temporary parking lot on your left. This scenic spot is Kahala Lookout and provides a beautiful view of the Kahala area and its ocean views.
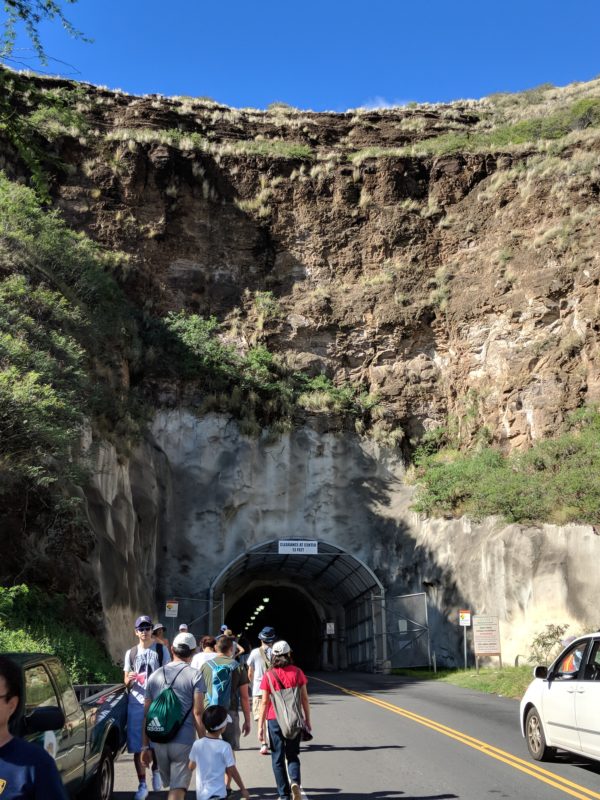
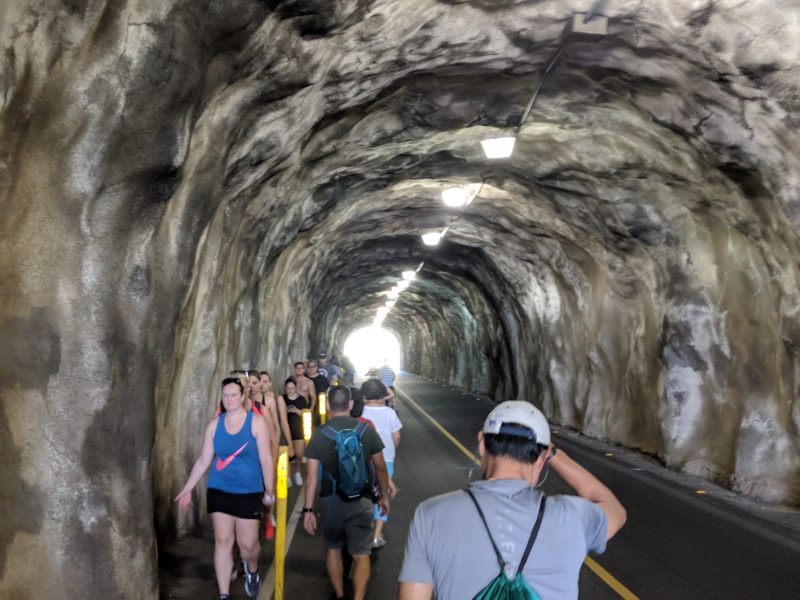
Be careful as you drive into the tunnel. Pedestrians have a walkway that’s squeezed into the opposing lane so all vehicles take turns coming in and out. There are plenty of tour buses, trolleys and large commercial vehicles that are used to this crowded road so give them their space.
How to get to Diamond Head – additional parking at KCC
The KCC parking lot is very easy to find. It will be on your left and continues to wrap around the KCC campus. The easiest entrance is almost right across Diamond Head right turn. Most likely, several cars will be heading that way as well, so just follow the crowd.

Diamond Head Hike Times
The Diamond Head hike opens at 6 AM and closes at 6 PM every day of the year, including holidays. 4:30 PM is the latest you can begin your hike and all hikers must be out by 6 PM (the gates lock at 6 PM).
As for most hikes, the best time to go is as early as possible. You’ll have your pick of parking spaces, the air is cooler and there will be less people crowding the viewpoints. It tends to get really busy here between the hours of 10 AM to 2 PM. At the very least, the hike will take you about 1.5 hours round trip. However, 2 hours is a better estimate if you plan on spending a lot of time at the view points or making several stops on your way up. For those who want to spend minimal time here and have no problem on hikes, it generally takes about 30 min each way.
Diamond Head Dangers and Safety
Diamond Head is a volcano, which means it’s made out of lava rock. Although the trail is well-maintained, beware of the occasional tumbling rock and do not climb the walls attempting to skip past. Lava rock is very light and brittle and it is not uncommon for hikers in Hawaii to lose their footing standing where they shouldn’t be.
Most of the hike is on uneven ground so take extra care if you’re walking while looking around or taking pictures. It’s very easy to trip because each step is different from the next. For those who are claustrophobic: right before you reach the top, there is a dark tunnel that you’ll have to walk through. There is no way around this tunnel so make sure this is OK with your group before you begin your hike!
Scroll down to read about my personal experience to find out more about the uneven ground and tunnel. Bringing a small flashlight is an option.
How To Hike Diamond Head with Children
Plenty of children hike Diamond Head everyday (in fact most of them seem to have more energy than the adults!). A general rule of thumb is if they can walk by themselves without getting into trouble, they should be fine with supervision. But make sure to keep an eye on them since the uneven ground is hazardous once they’re looking at something else. The fence runs along most of the trail so they can easily hold on to it as they make their way up.
Infants are also commonly seen on the Diamond Head trail sleeping on their parents. If you’re fit, this is another option if your child is too young to walk or gets tired. Again, make sure you pay attention to the ground for each step you take.
Diamond Head Hike Tour
Audio tour
There is a Diamond Head audio headset available for rent at the souvenir shop. Most people forego it as wearing headphones while hiking can be cumbersome, but if you want to know the history about Diamond Head (there’s a lot) it’s a good buy at $4.
My Personal Diamond Head Hike Experience
How to get to Diamond Head and back – Personal Review
The following pictures showcase my personal Diamond Head hike experience. We began our hike around 11 AM and came back down at around 1 PM – peak Diamond Head hiking hours.
How to get to Diamond Head by foot
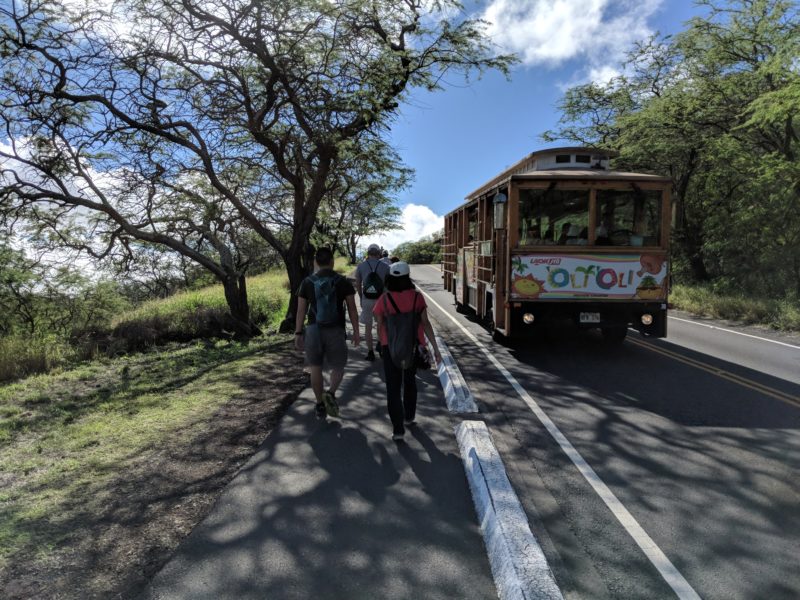
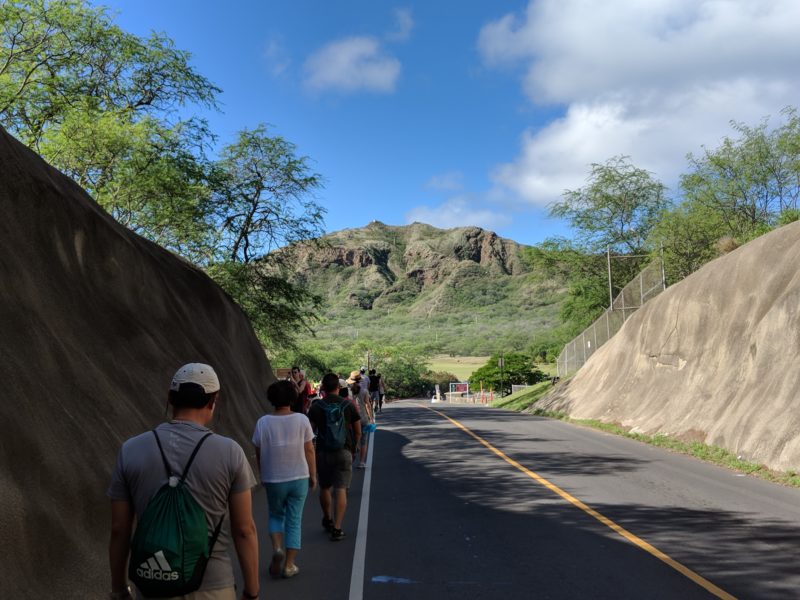
Entrance into the crater can be a bit tricky. Everyone walks on one side, which forces the two lane road to be a one lane. While there was plenty of space and I didn’t feel in danger, I’d still recommend keeping an eye out on the cars since they take turns entering and exiting.
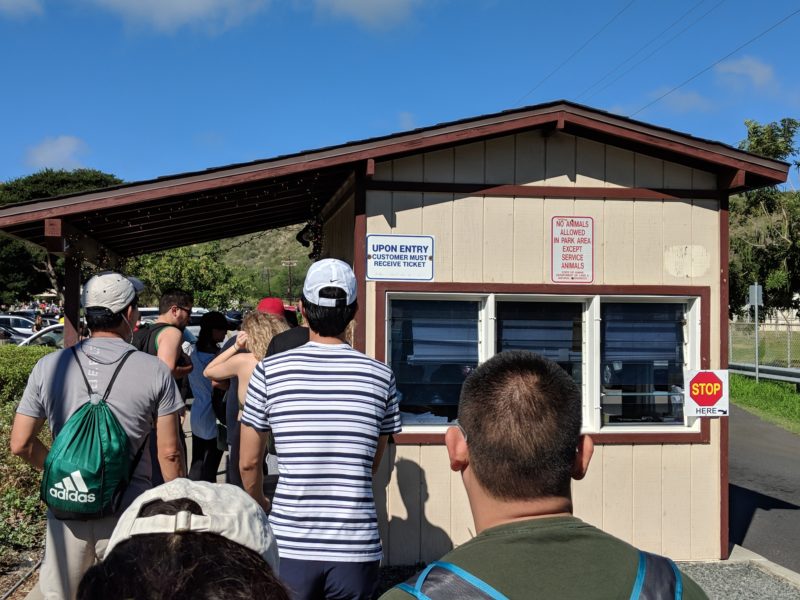
Once you come out of the tunnel, you’ll have this spectacular snapshot to look forward to. The tunnel falls away behind you and the crater walls fill up your vision for a magnificent 360 degree view. From here it’s only about a 5 minute walk to the entrance of the parking lot where you’ll pay your $1 entrance fee.

How to get to Diamond Head’s trailhead
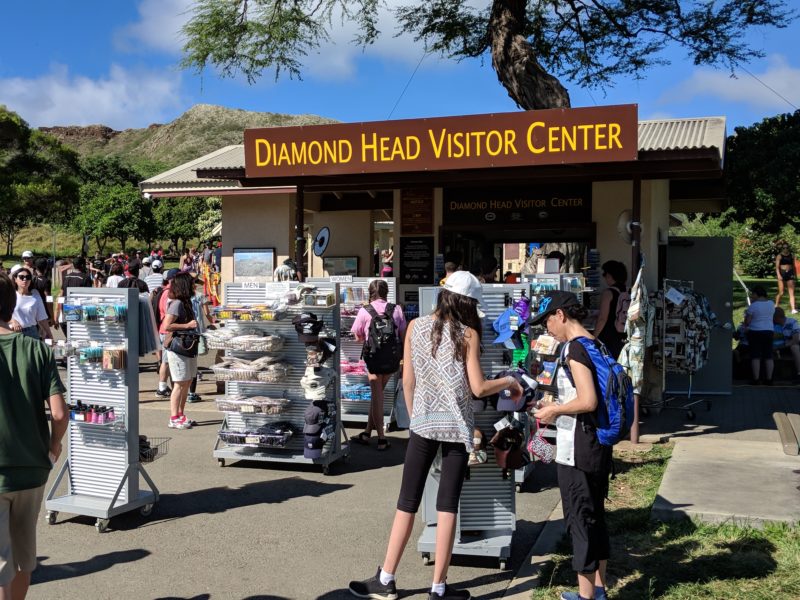
Right at the trailhead you’ll see a crowd of people at the Diamond Head Visitor Center where they sell plenty of souvenirs and trinkets. The bathrooms are located right behind the visitor center with the trailhead just beyond that. To the right will be a refreshment stand that is popular for hike finishers. Fresh pineapple, drinks and Hawaii’s ever-popular shave ice can be found here and sometimes even icy cold coconuts!


How to get to Diamond Head – What to expect on the hike
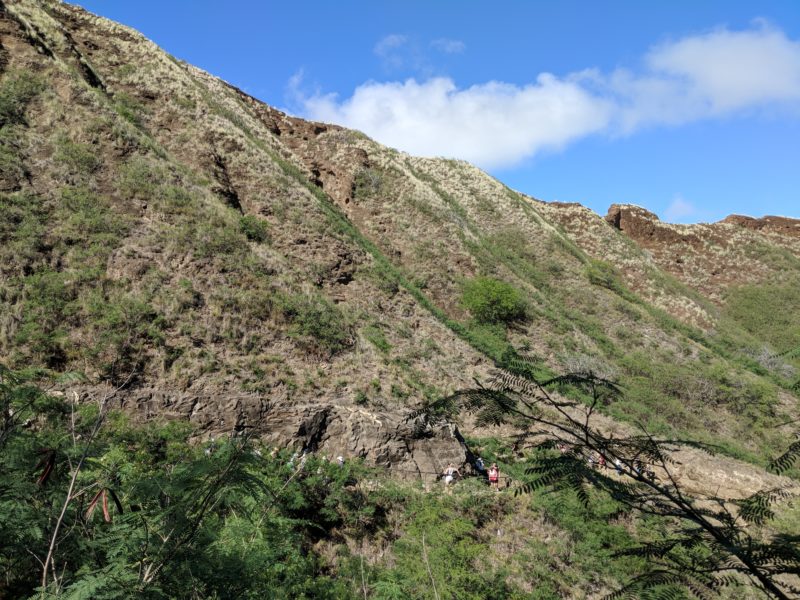
The trail begins as a cement pathway that will take you through a field of grass until you get to the base of the crater wall. The incline here isn’t that steep, so you’ll have a smooth walk for a few minutes. A lot of people coming down from the hike like to run this part so keep to the side to avoid collisions.

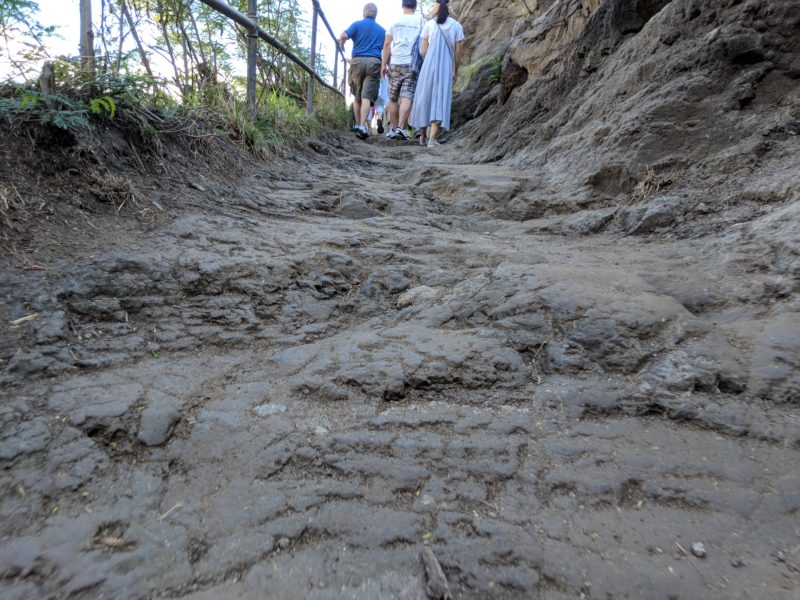
Once you get to the crater wall, the cement pathway will disappear and the walkway will be rock and dirt. On a hot day, there are no problems with slipping UNLESS you aren’t watching where you’re going. Because of the uneven ground, taking in the sights becomes difficult since each step is different than the rest.
Local Tip: If you’re going to look up while walking, you need to do two things: make sure one hand is on the rail and look ahead at what your next steps will be like so that there are no surprises. Slowing your walk also doesn’t hurt. Fortunately, I didn’t fall, but I did stumble at least 3 times!
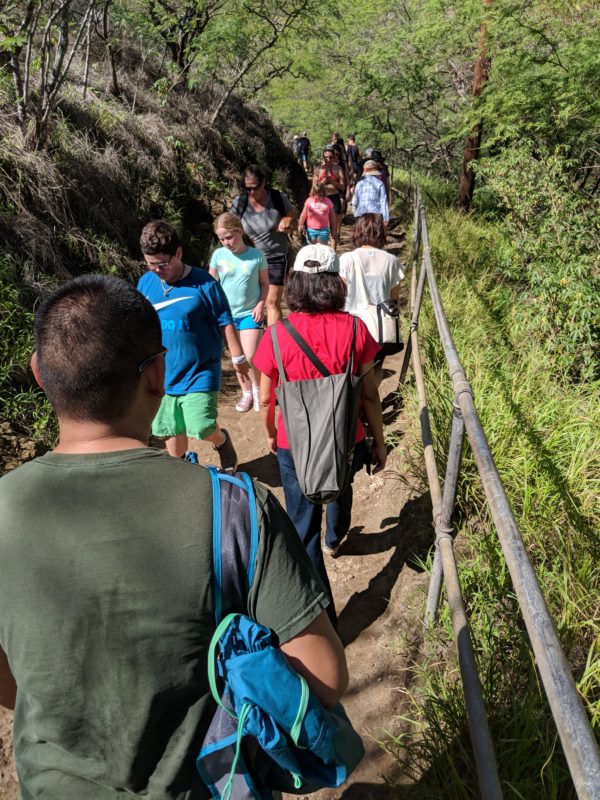
I’m the type of person that goes at my own comfortable pace. In other words, I’m not in a rush. If someone in front of me is walking slowly, I have no problem cruising right behind them at their pace. However, if you’re someone who likes to speed along, you’ll find Diamond Head to be a frustrating hike especially during busy hours.
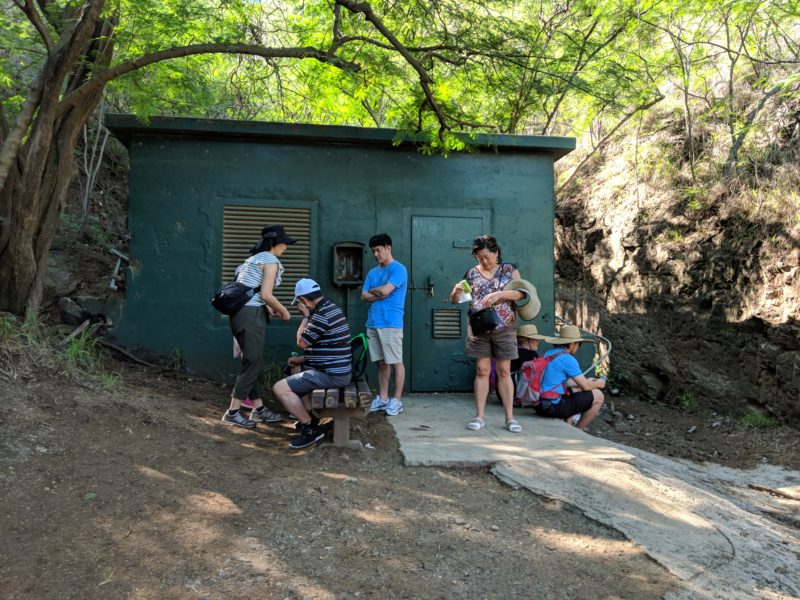
But the great thing about Diamond Head despite the crowd and narrow walkways is that there are plenty of open areas to get out of the way (or rest!). Most of the way up is made up of gentle switchback trails with more than enough room at each pivot to stand on the side. Every so often there are also large resting areas complete with benches and shade (and usually a good view!).
Are You CLAUSTROPHOBIC?
For those who are not comfortable in dark, tight places – this may make Diamond Head a deal breaker for you. There is no way to avoid this tunnel so make sure you’re OK with this before you go up (otherwise you won’t reach the top!).
While the pathway does become more narrow, you can still walk comfortably even with the incoming traffic. The tunnel is relatively straight and you’ll walk for about 45 seconds in the dark with very little light to guide you. However, they’ve done a good job in making the whole pathway smooth so you shouldn’t have too much of a problem walking along. Very tall people will have to be careful as it will be easy to bump their head against the ceiling once they’re further in the tunnel.
Local Tip: The best part of this tunnel has got to be the wind. The air rushes through and feels glorious on your skin!
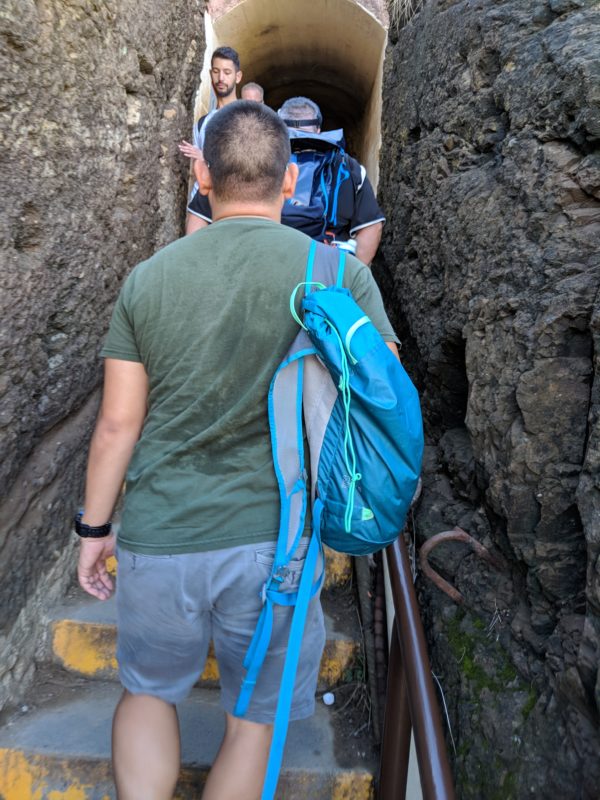
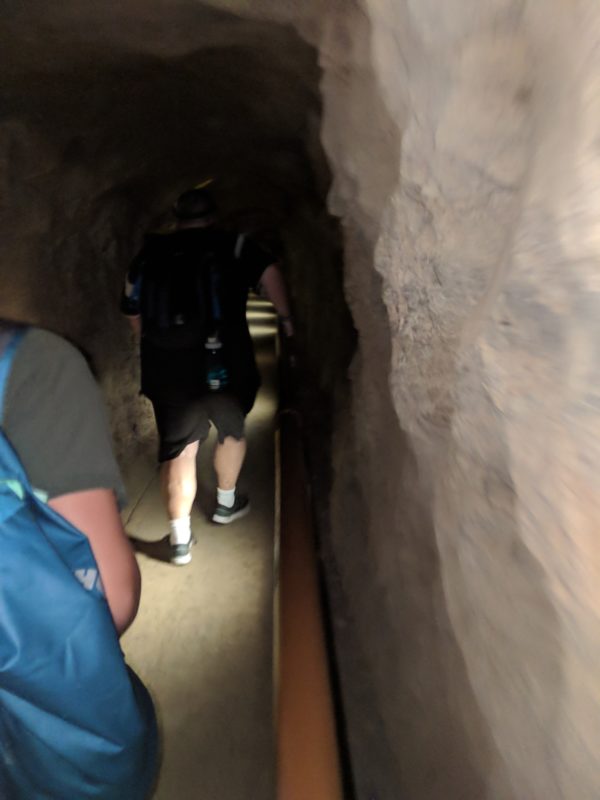
Once you emerge from the tunnel you’ll have two choices to get to the top: Stairs or more stairs!
The difference is the view. If you turn right, you’ll go up a flight of stairs that will make you feel the burn. The appeal here is that this is popular spot for folks to test themselves to see if they can handle the never-ending stairs to the top. You’ll get bragging rights once you beat those 100+ steps, which is no easy feat. Another reason this path is worth it is because you’ll get to explore an old bunker from the WWII days.
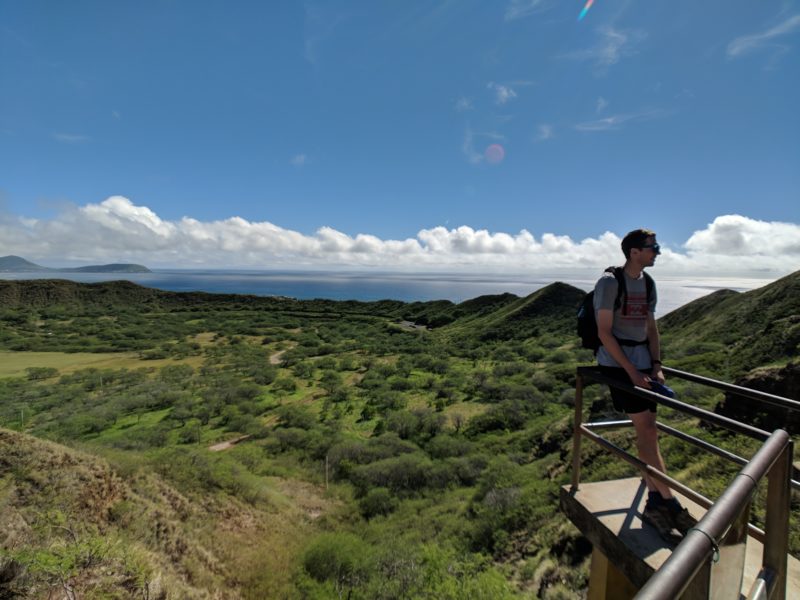
The other choice is to turn left and go up an easier set of stairs since it’s broken down into sections. These stairs are not walled up, so you’ll get to enjoy a beautiful view and take some gorgeous pictures while you’re climbing (not to mention the odd break or two).
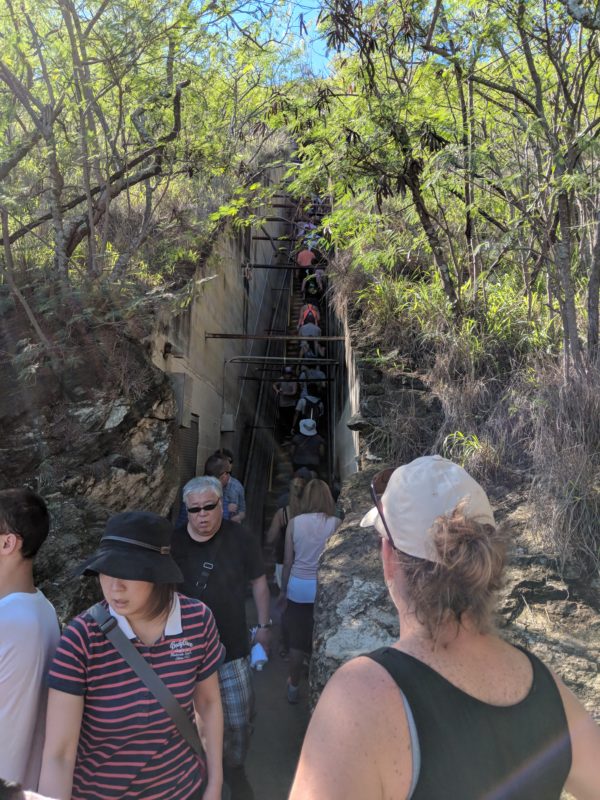
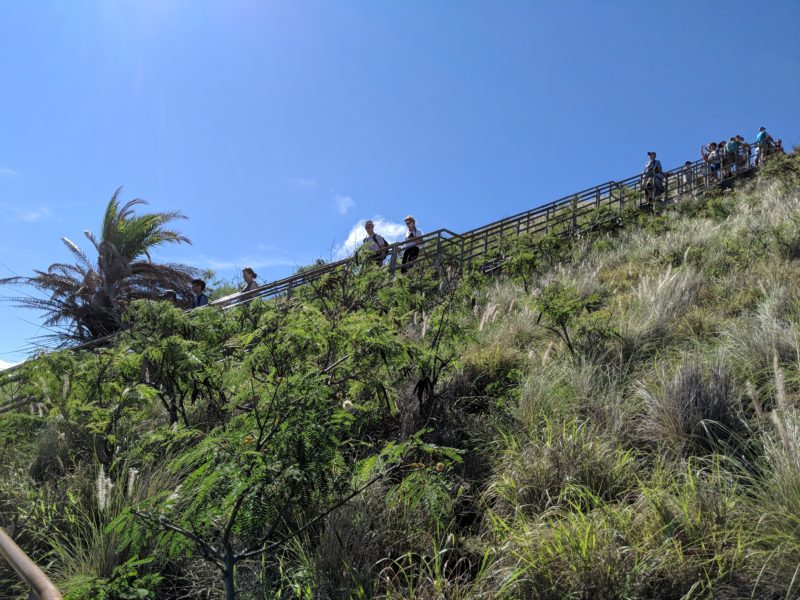
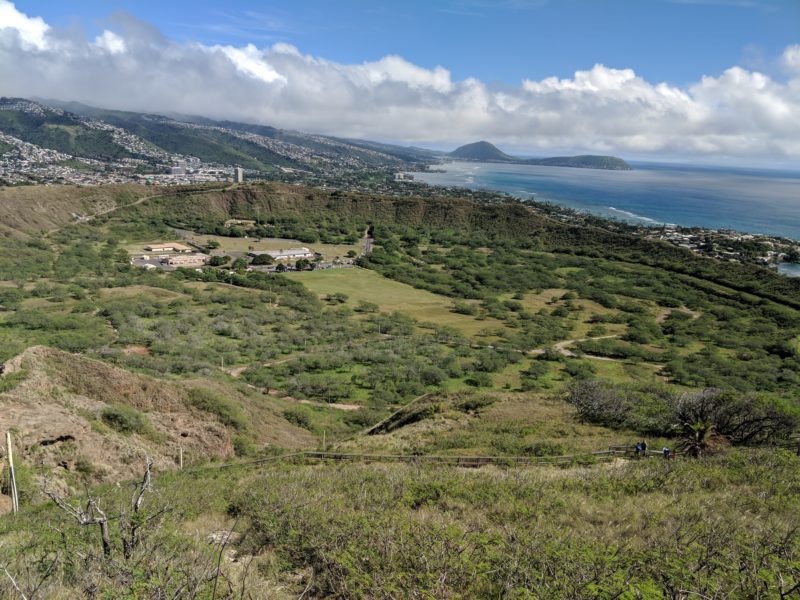
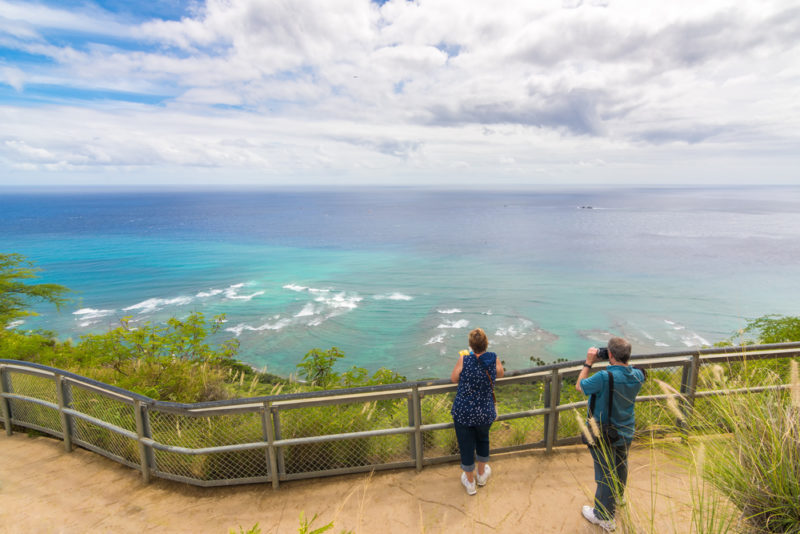
Actually reaching the top may take an extra minute or two. There are a ton of people up there, but the view is completely worth it! Don’t be ashamed to work your way to the rail to take pictures and enjoy the sights for a few minutes. The plus side of having such a small and crowded lookout is that help is always just around the corner. You’ll always find someone willing to take pictures of you up here.
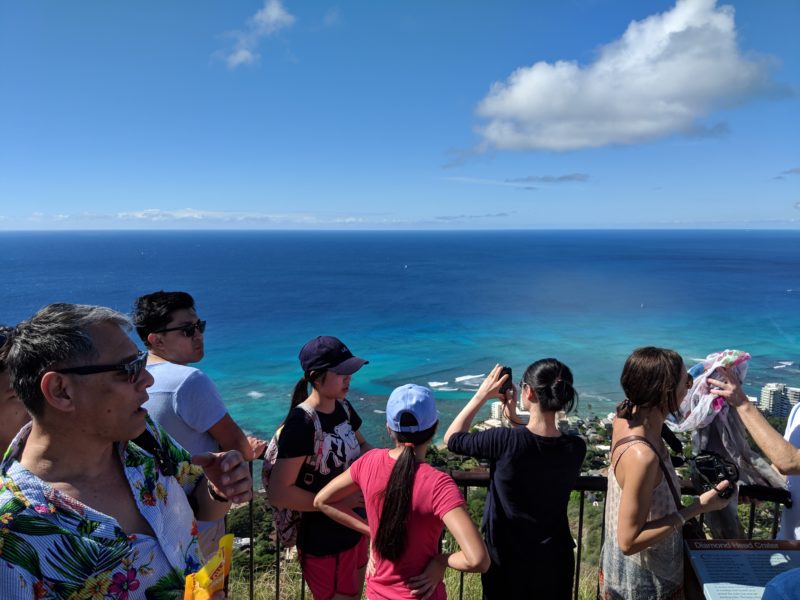

One last thing about the top of Diamond Head. Sometimes there’s a man up here offering to stamp your ticket/brochure as a certificate of completion – which is awesome! Except that he doesn’t wear a uniform, charges money for each stamp and says the money goes back into maintaining Diamond Head. Hmm…
9/14/19 – Local Tip: There’s now a sign on the top that says no commercialization so it looks like this was not a legitimate business.
Let me know if you liked this How to get to Diamond Head guide!

